
 1 MIN READ
 UPDATED MAR 25, 2026
Onboarding
- Receive Onboarding Email and click “Provide Information”
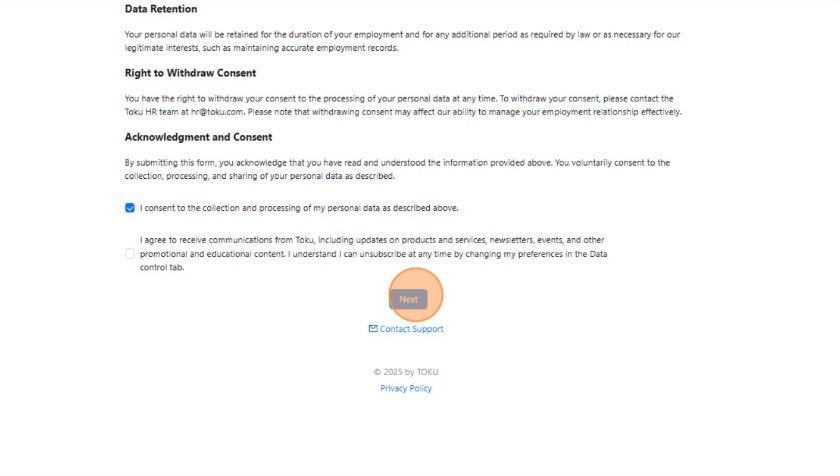
- Read and consent to the collection and processing of personal data
- Click “Next”
- Enter Personal information & click “Next”
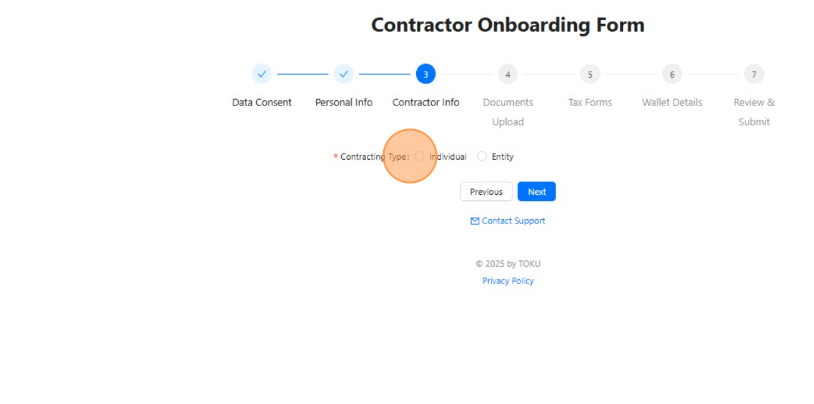
- Select Contracting Type & click “Next”
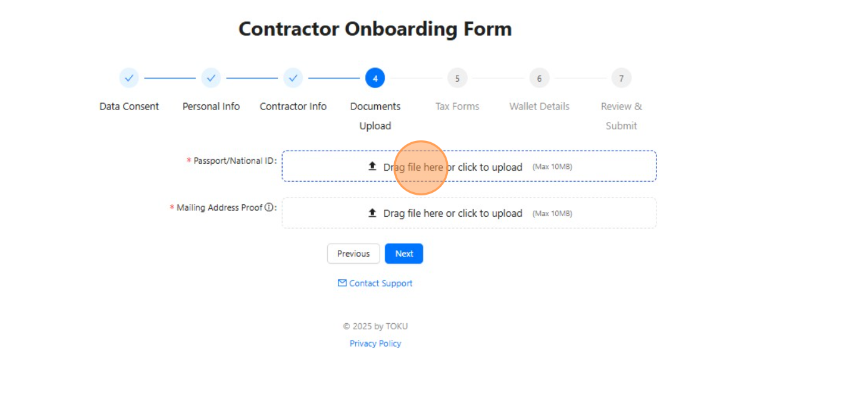
- Upload Documents & click “Next”
- Complete Tax Form & click “Next”
- click “Add First Wallet”
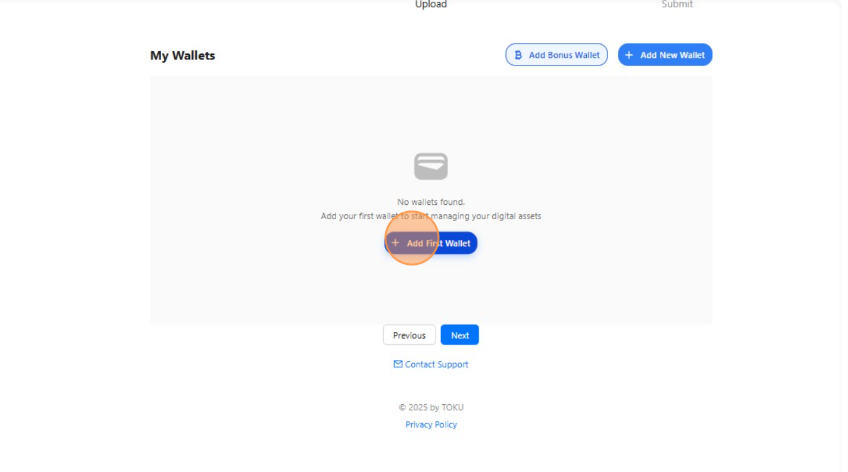
- Add Wallet Name, Address, Network, & Token. Click “Add New Wallet”
- Confirm wallet Added and click “Got it!”
- View test transaction
- Confirm receipt of test transaction
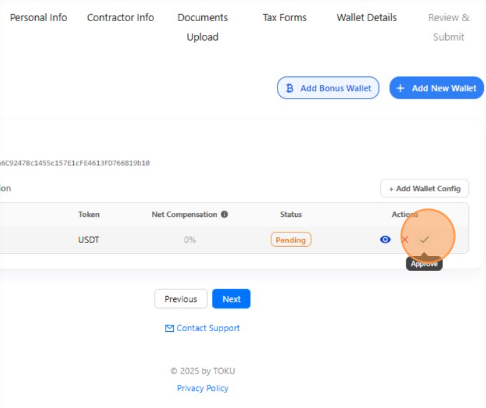
- Set token allocation & click “Confirm”
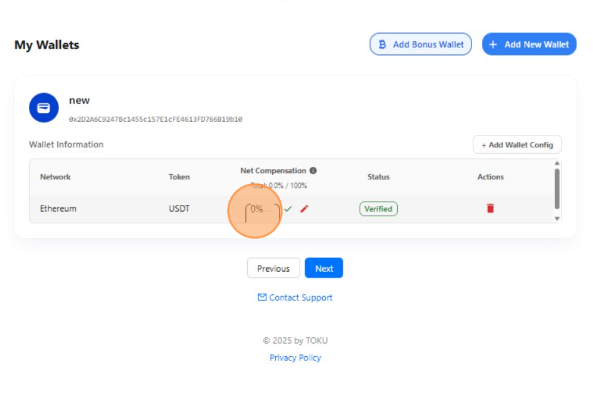
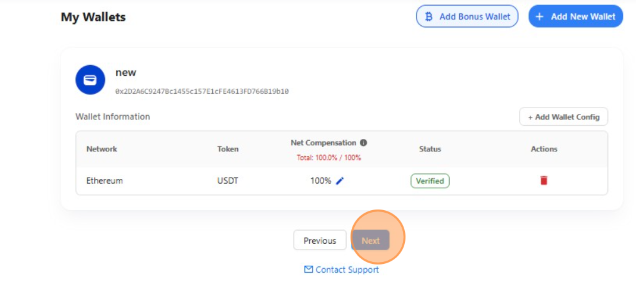
- Click “Next”
- Click “I confirm that all information is accurate and complete
- Click “Submit”
- Successfully Submitted
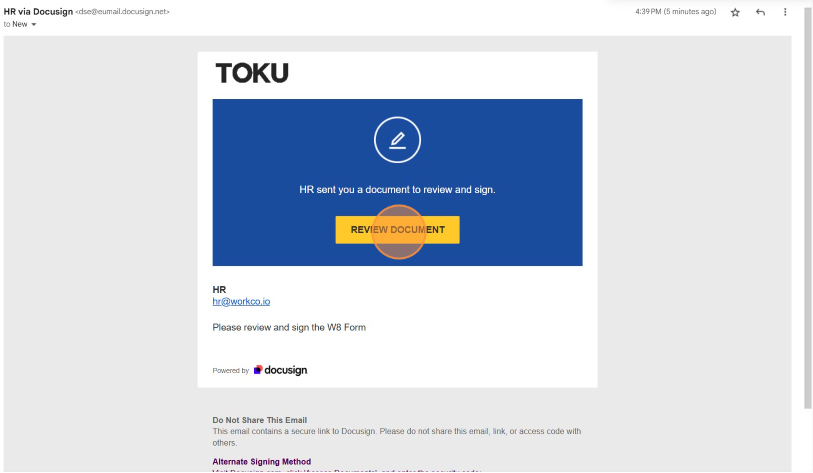
- Receive DocuSign email for relevant tax documents & click “Review Document”
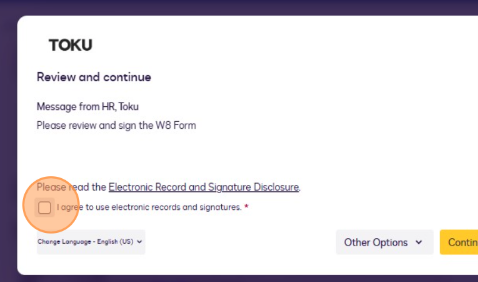
- Click “I agree to use electronic records and signatures.”
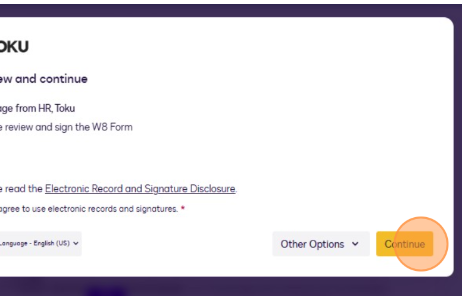
- Click “continue”
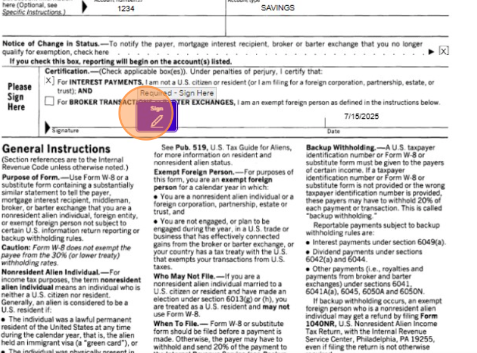
- Click “Sign
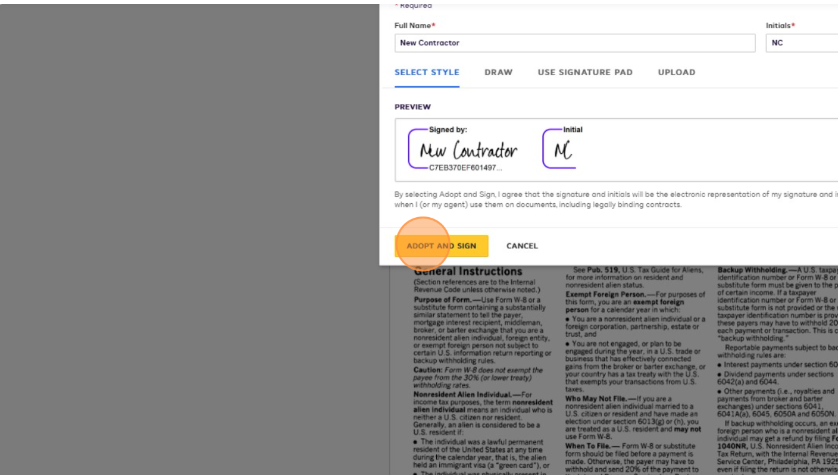
- Click “Adopt and Sign”
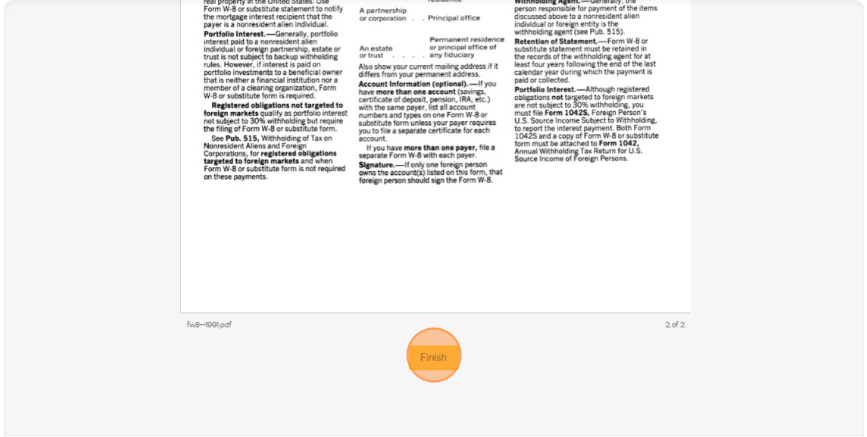
- Click Finish
💡 Congratulations! You have completed the onboarding process. You will receive an activation email once our onboarding team has received your submission.