
 1 MIN READ
 UPDATED MAY 13, 2026
Use this guide to add an external wallet to your TGA profile and complete the verification process before receiving token distributions.
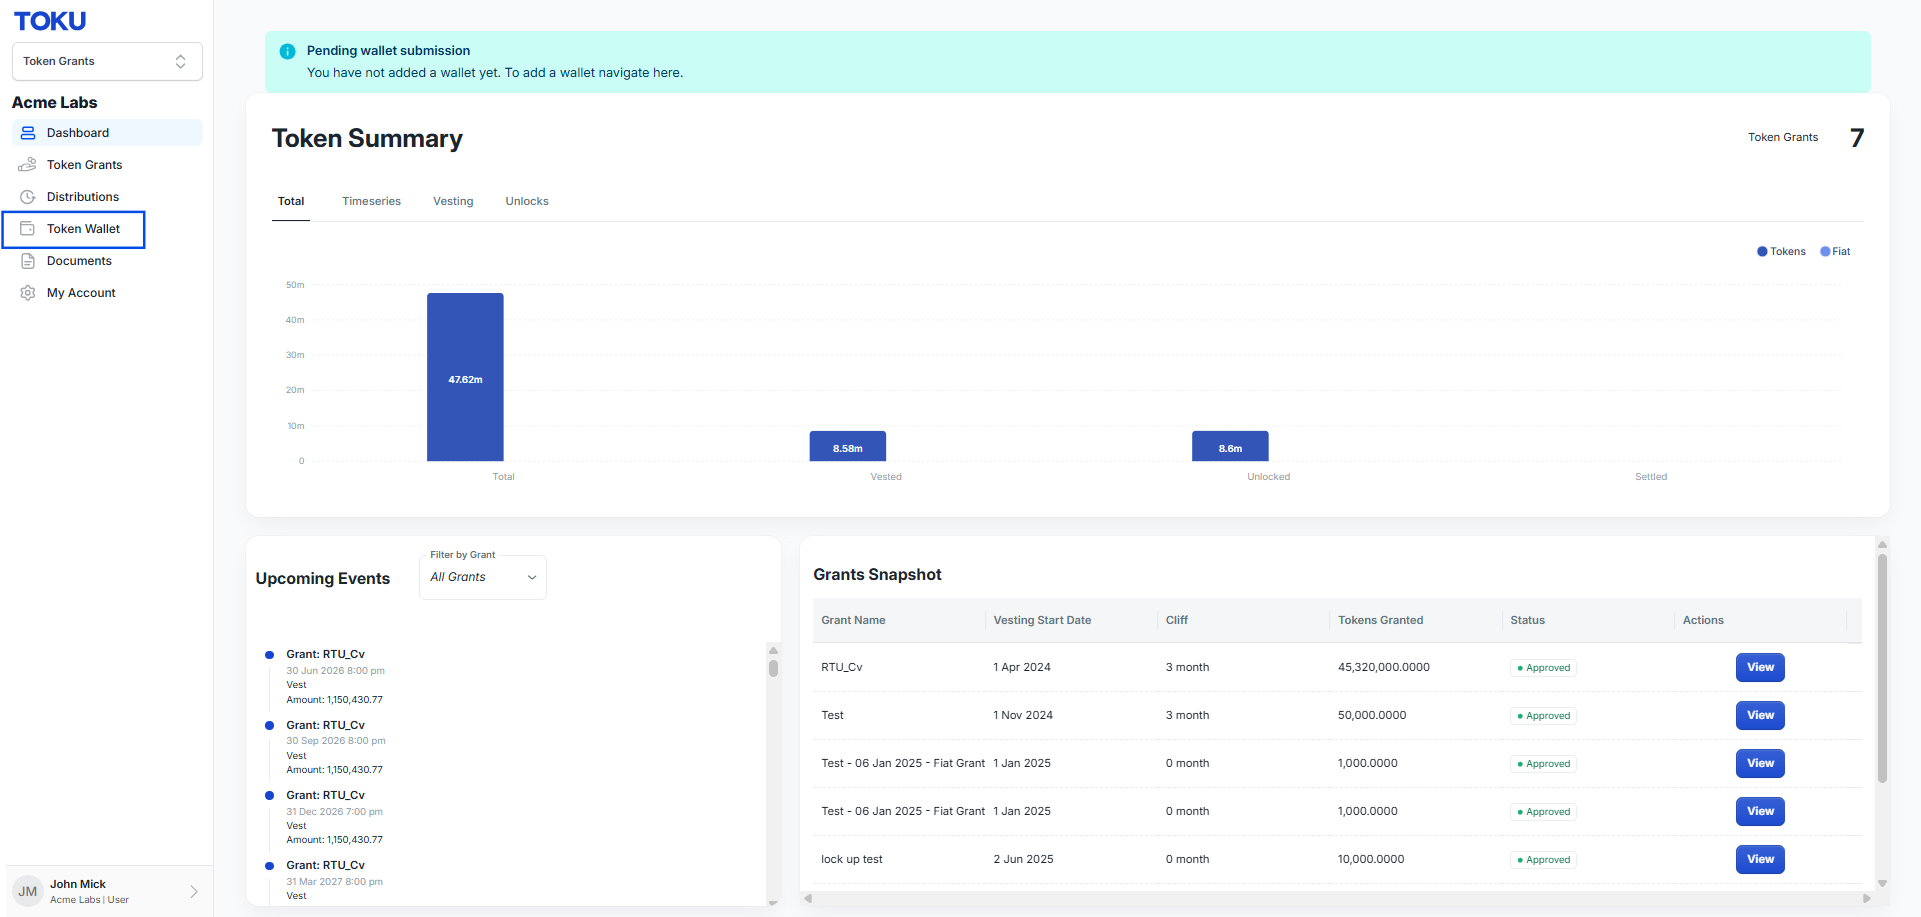
Step 1: Navigate to Token Wallet
In the left sidebar, click Token Wallet.
Step 2: Archive Your Existing Wallet (If Applicable)
If you already have a wallet on file, you must archive it before adding a new one. Click the trash icon next to your existing wallet to archive it.

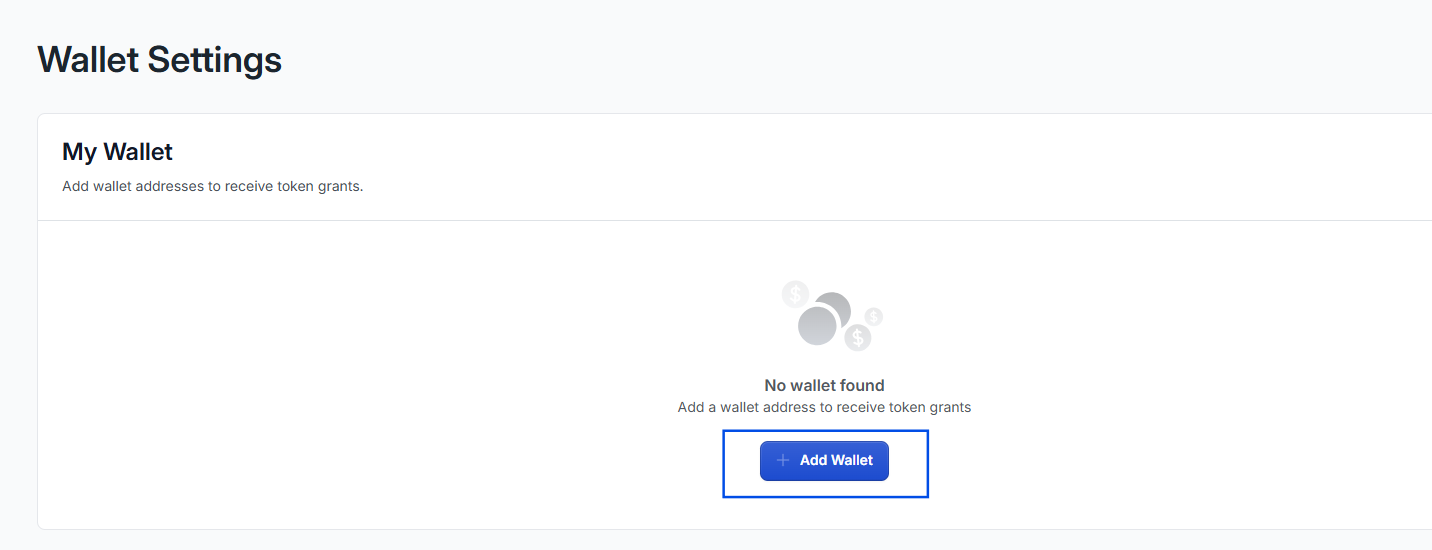
Step 3: Add a New Wallet
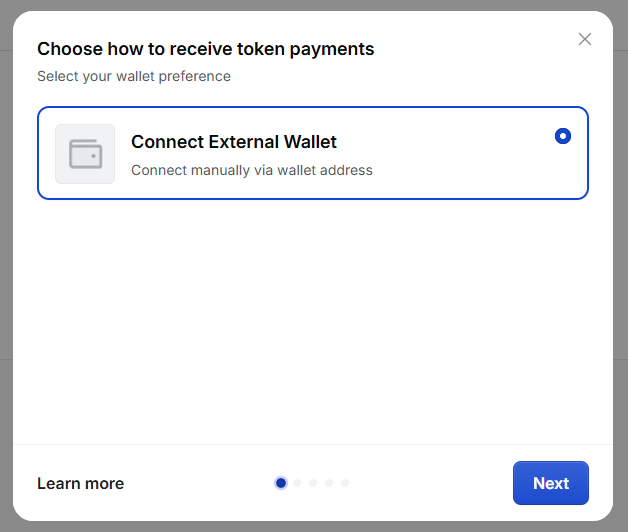
Click Add Wallet, then select External Wallet.
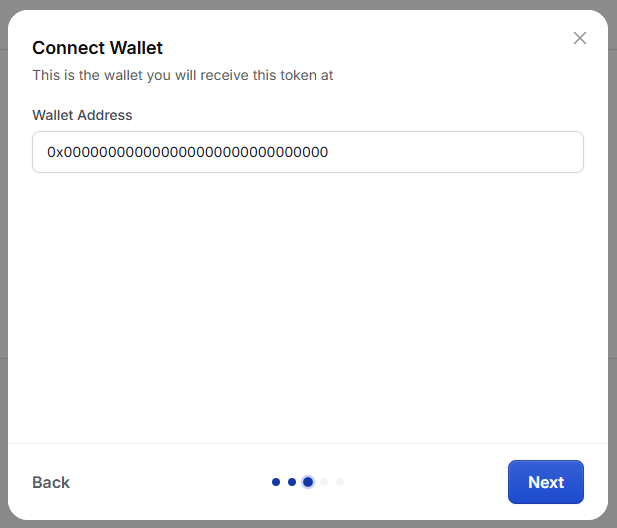
Step 4: Select Your Network and Enter Your Address
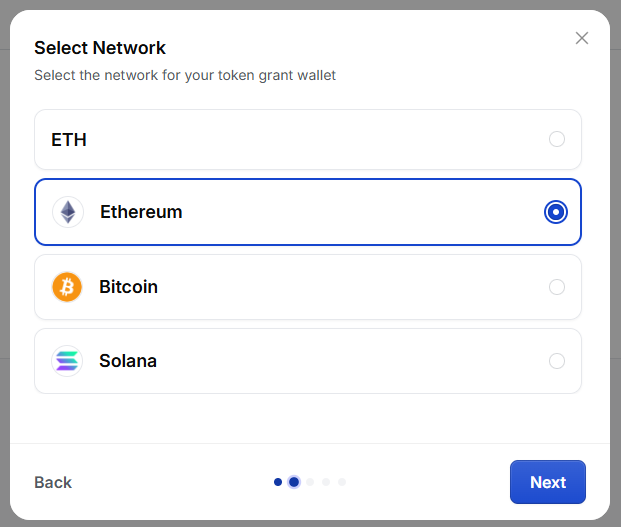
- Select your network from the dropdown.
- Enter your wallet address.
- Click submit.
Step 5: Complete Two-Factor Authentication
Enter your Two-Factor Authentication (2FA) code when prompted.
Step 6: Confirm the Test Transaction
After submission, Toku will send a small test transaction to your wallet. You'll receive an email notification once it's sent - check your wallet to confirm receipt.
Step 7: Verify Your Wallet
Once you've confirmed receipt of the test transaction:
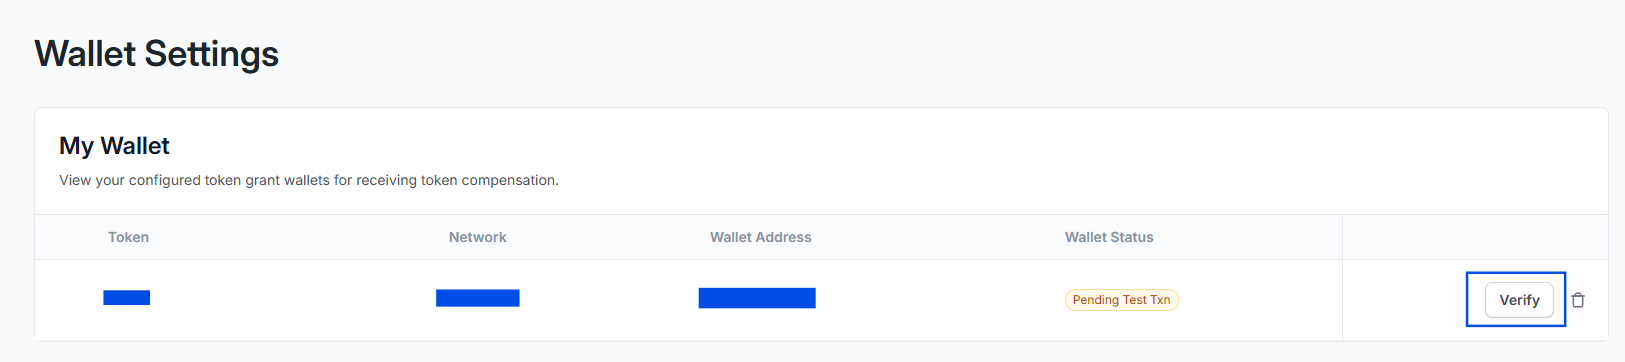
- Return to Token Wallet in the TGA platform.
- Click Verify.
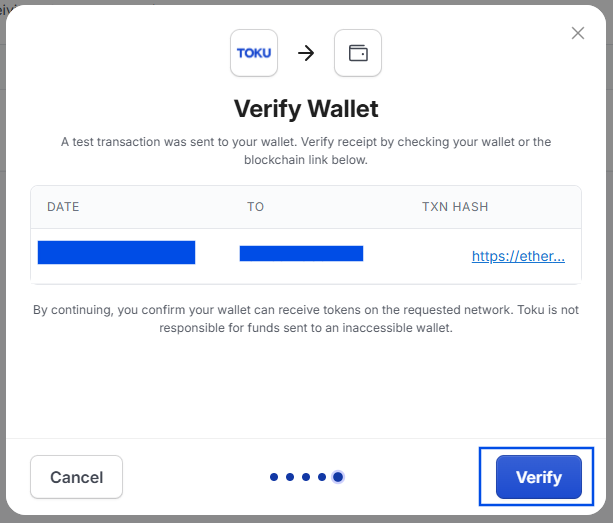
- Review the test transaction details in the window that appears.
- Click Verify again to complete the process.
Your wallet is now verified and ready to receive tokens. ✅
Questions? Reach out to us at [email protected].