
 2 MIN READ
 UPDATED MAY 1, 2026
How to Create a Grant
Step-by-step walkthrough for issuing a token grant to a recipient
Issue a token grant from the TGA dashboard. You’ll need at least one grant configuration and an existing recipient before you start.
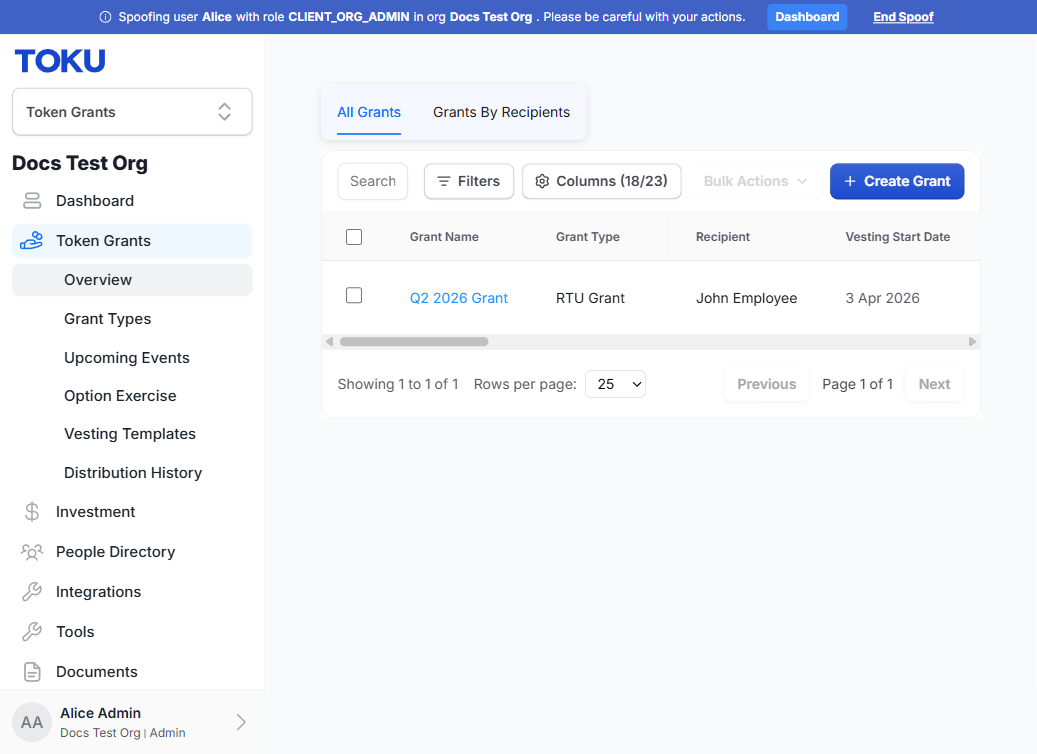
Step 1: Navigate to Token Grants
In the left sidebar, click Token Grants to expand the menu, then click Grants.
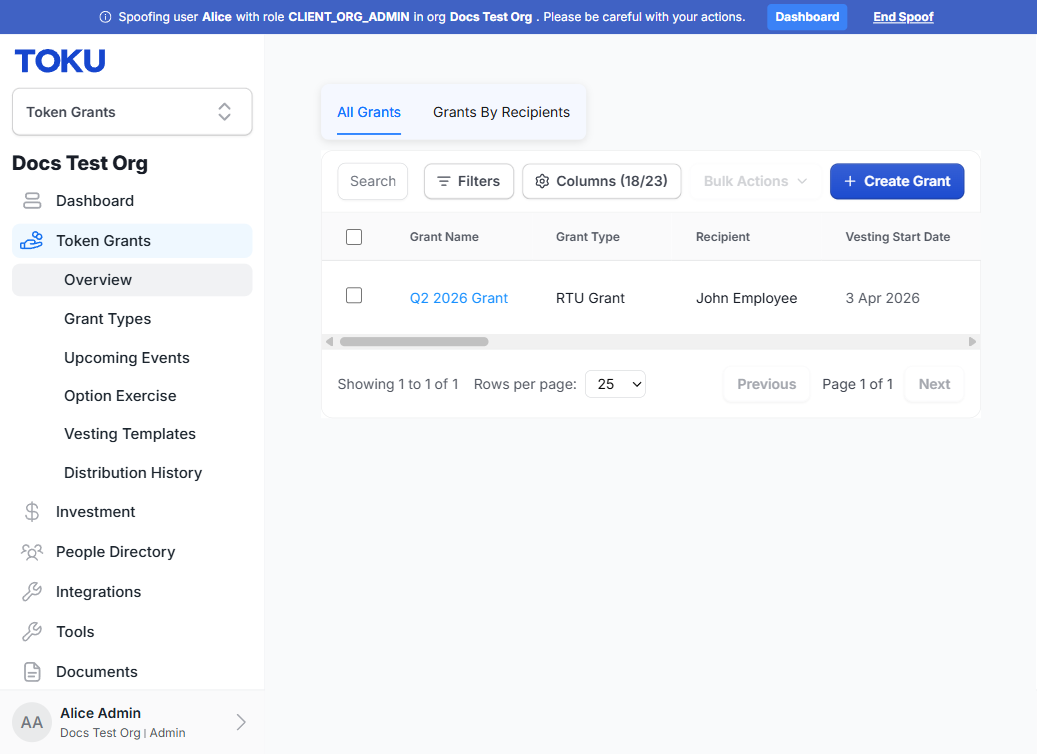
Step 2: View the grants list
The grants list shows all existing grants in your organization - their status, recipient, amount, and vesting progress.
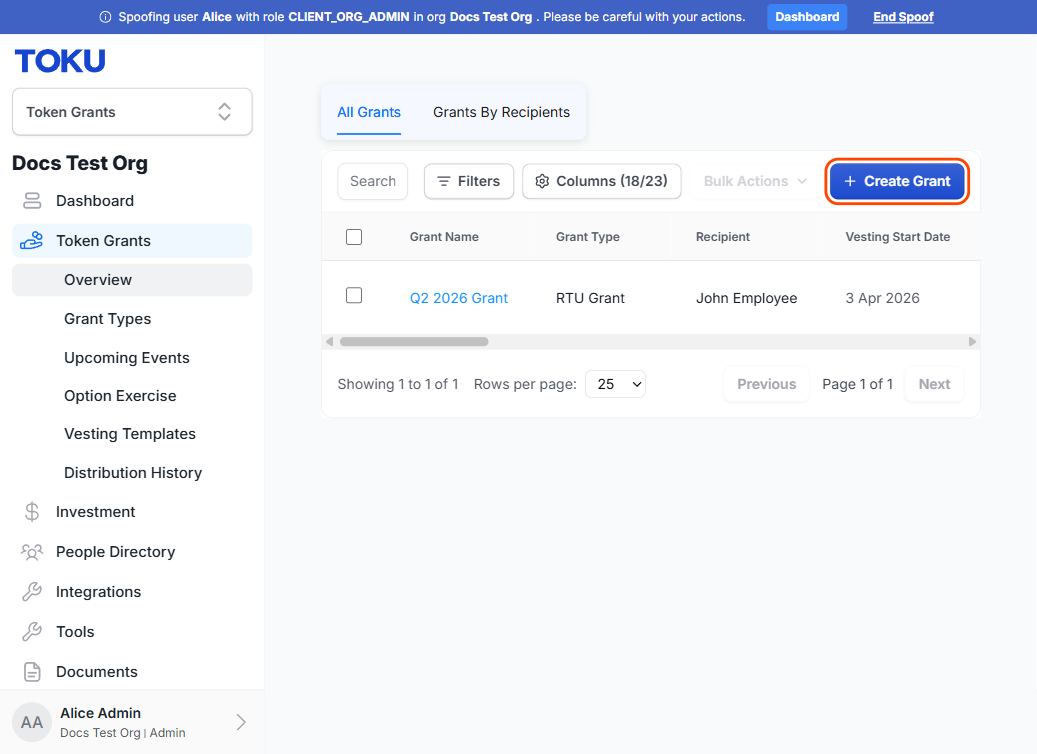
Step 3: Click New Grant
Click the New Grant button in the top-right corner to open the grant creation form.
Step 4: Select a grant configuration
Choose the grant configuration that defines the token type and grant structure (RTU, RTA, TPA, or TOKEN_BONUS). If you don’t have one yet, see Setting Up Grant Types.
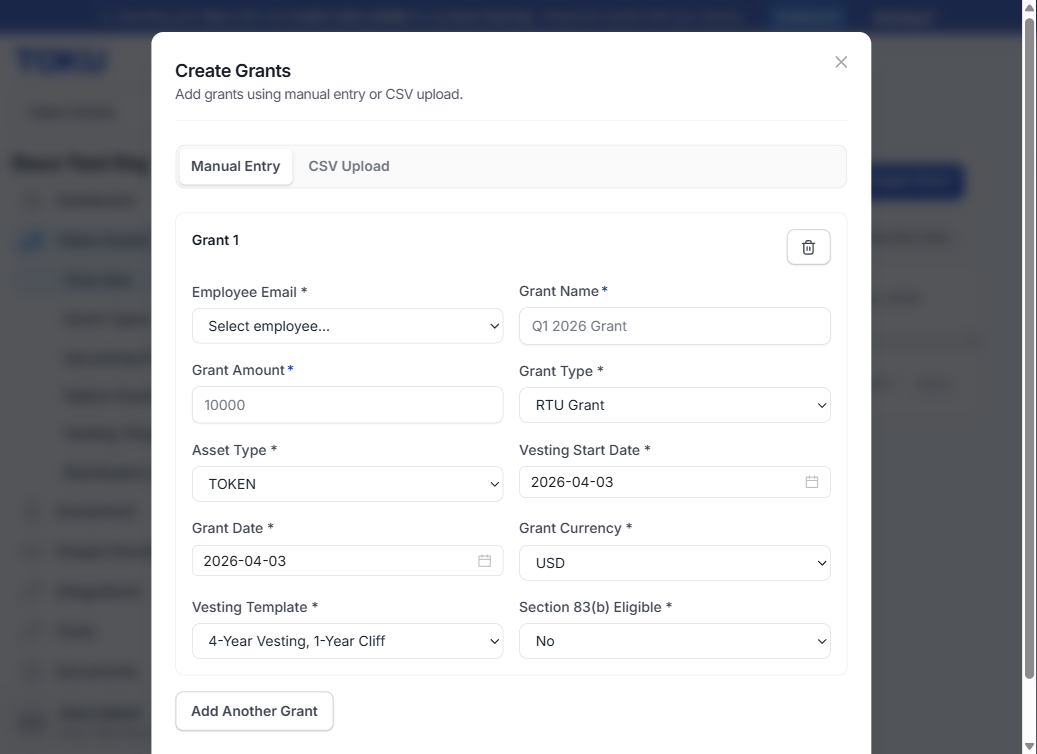
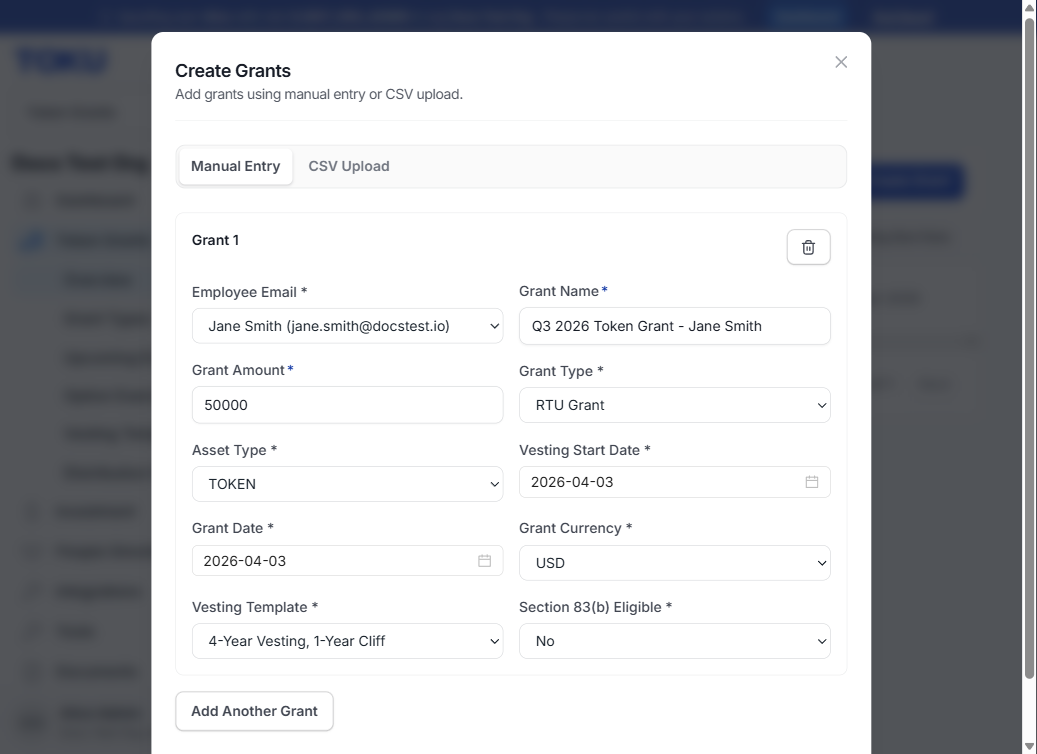
Step 5: Fill in grant details
Complete the grant form:
- Recipient — Search by name or email
- Grant Amount — Number of tokens to award
- Grant Name — A descriptive label (e.g.,
Q1 2026 Token Grant - Jane Smith) - Grant Date — When the grant was issued
- Vesting Start Date — When vesting begins
- Vesting Schedule — Select a template or enter custom cliff/period settings
- Tags — Optional labels for reporting and filtering
Step 6: Review and create
Review the grant summary, then click Create Grant. The grant moves to PENDING status and the recipient is notified to accept it.
💡 After creation, the grant stays in
PENDINGuntil the recipient accepts it. You can edit the grant amount, vesting dates, and tags while it’s still pending.
Grant Status Reference
| Status | Meaning |
|---|---|
PENDING |
Awaiting recipient acceptance |
ACCEPTED |
Active and vesting |
COMPLETED |
Fully vested |
TERMINATED |
Ended early by admin |