
 4 MIN READ
 UPDATED AUG 10, 2026
📘 For organization administrators on Toku. Last updated August 5, 2026.
Add bonuses, stipends, overtime, or correction payments to a team member's account.
Before you start
- You need administrator access to your organization's account. If you're signed in but don't see the options below, sign out and back in, choosing Continue as ADMIN.
- The team member must already be added to your organization.
- Have ready: the payment amount; whether it is paid in a fiat currency or a token, and which one; the kind of payment (Bonus, Stipend, Correction Payment, or Overtime); and the effective date if applicable.
- Payroll cutoff is the 10th of each month for most countries. Requests submitted on or before the 10th will be included in that month's payroll. Requests submitted after the 10th will be processed in the following month's payroll.
- Payments are never processed immediately — they are always tied to the next eligible payroll cycle.
- Need a payment sent sooner? Off-cycle payments start at an additional $49 per person.
- Payments over $5,000 USD require pre-funding. Toku's finance team [[email protected]] will reach out with a pre-funding invoice that must be funded before the payment can be processed. Factor this into your timeline, as pre-funding adds an additional step before payroll processing.
Add a bonus or one-time payment
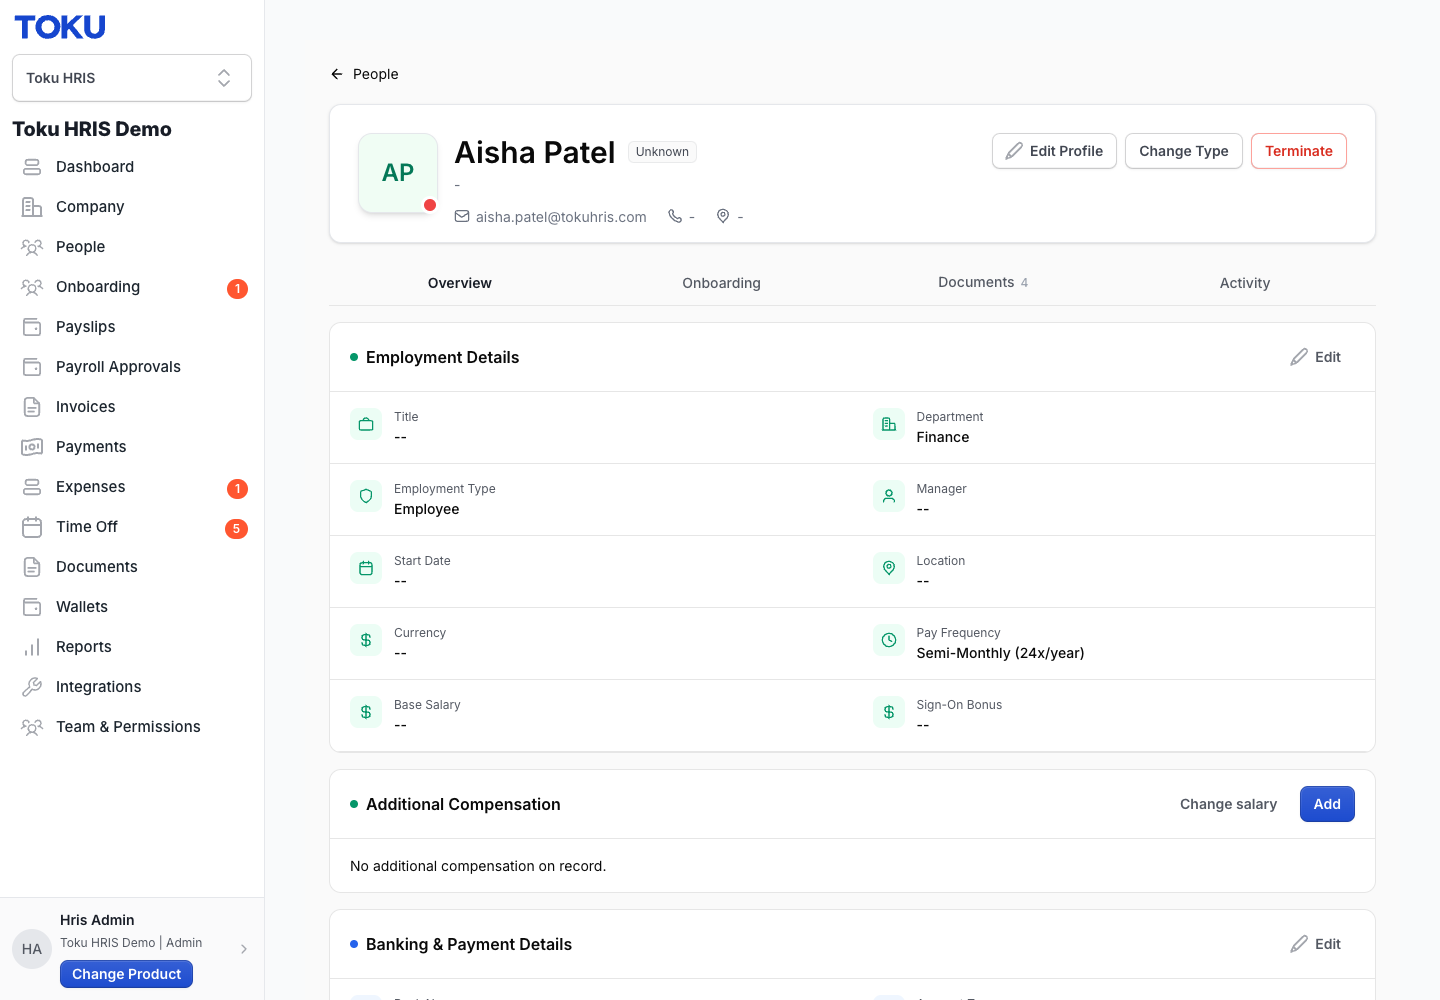
- Open the employee's profile and scroll to the Additional Compensation section. Click the blue Add button.
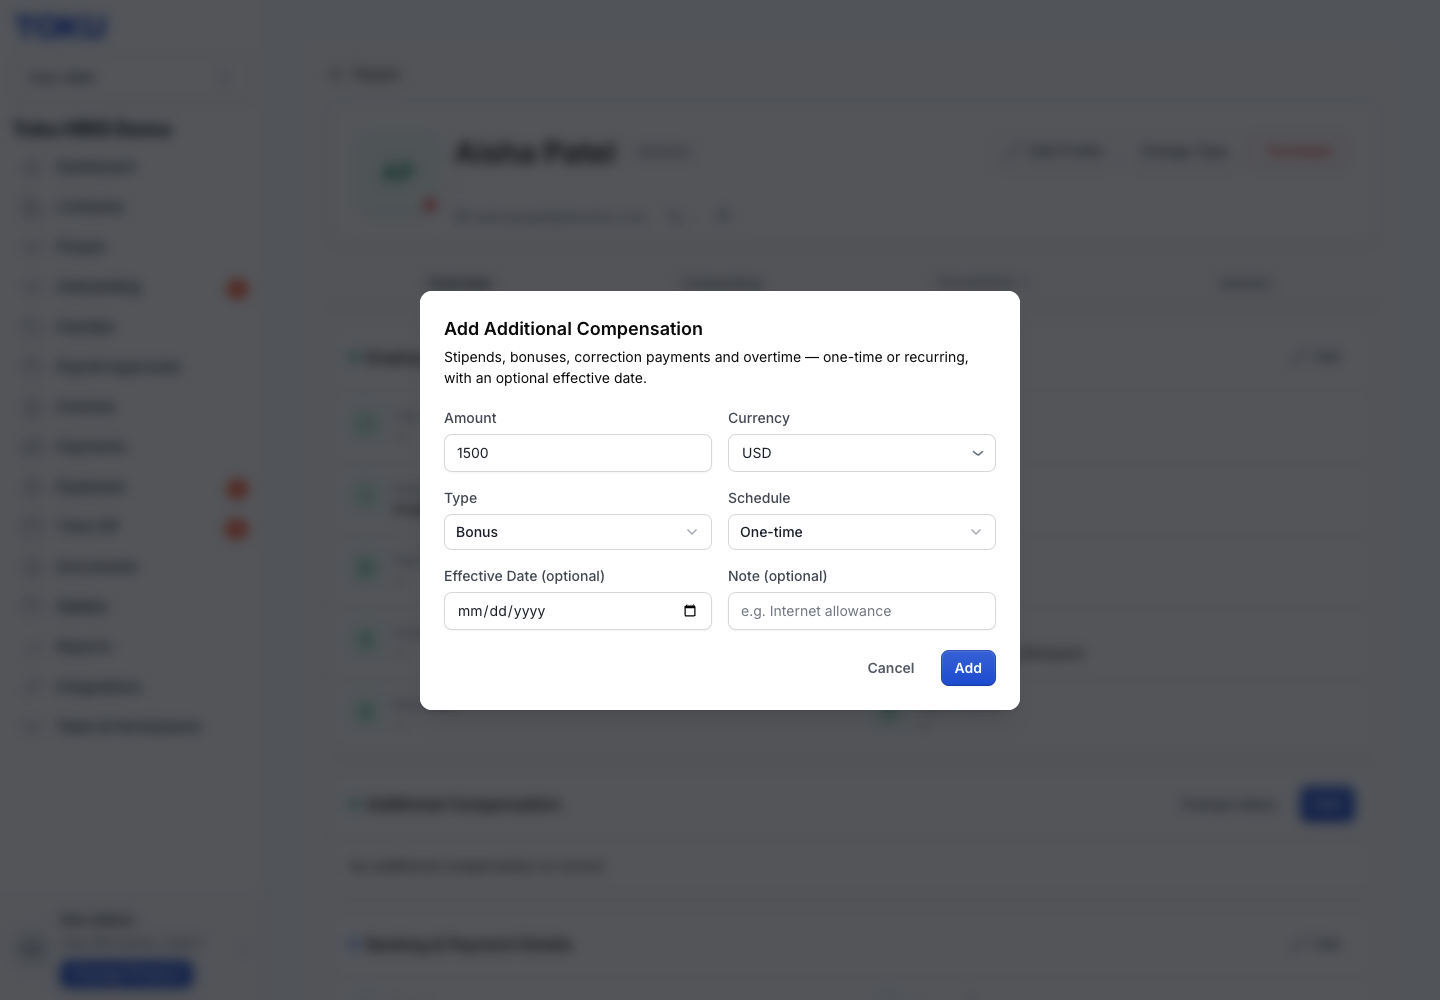
- Enter the payment amount in the Amount field using digits only (no commas or symbols). Example: 1500.
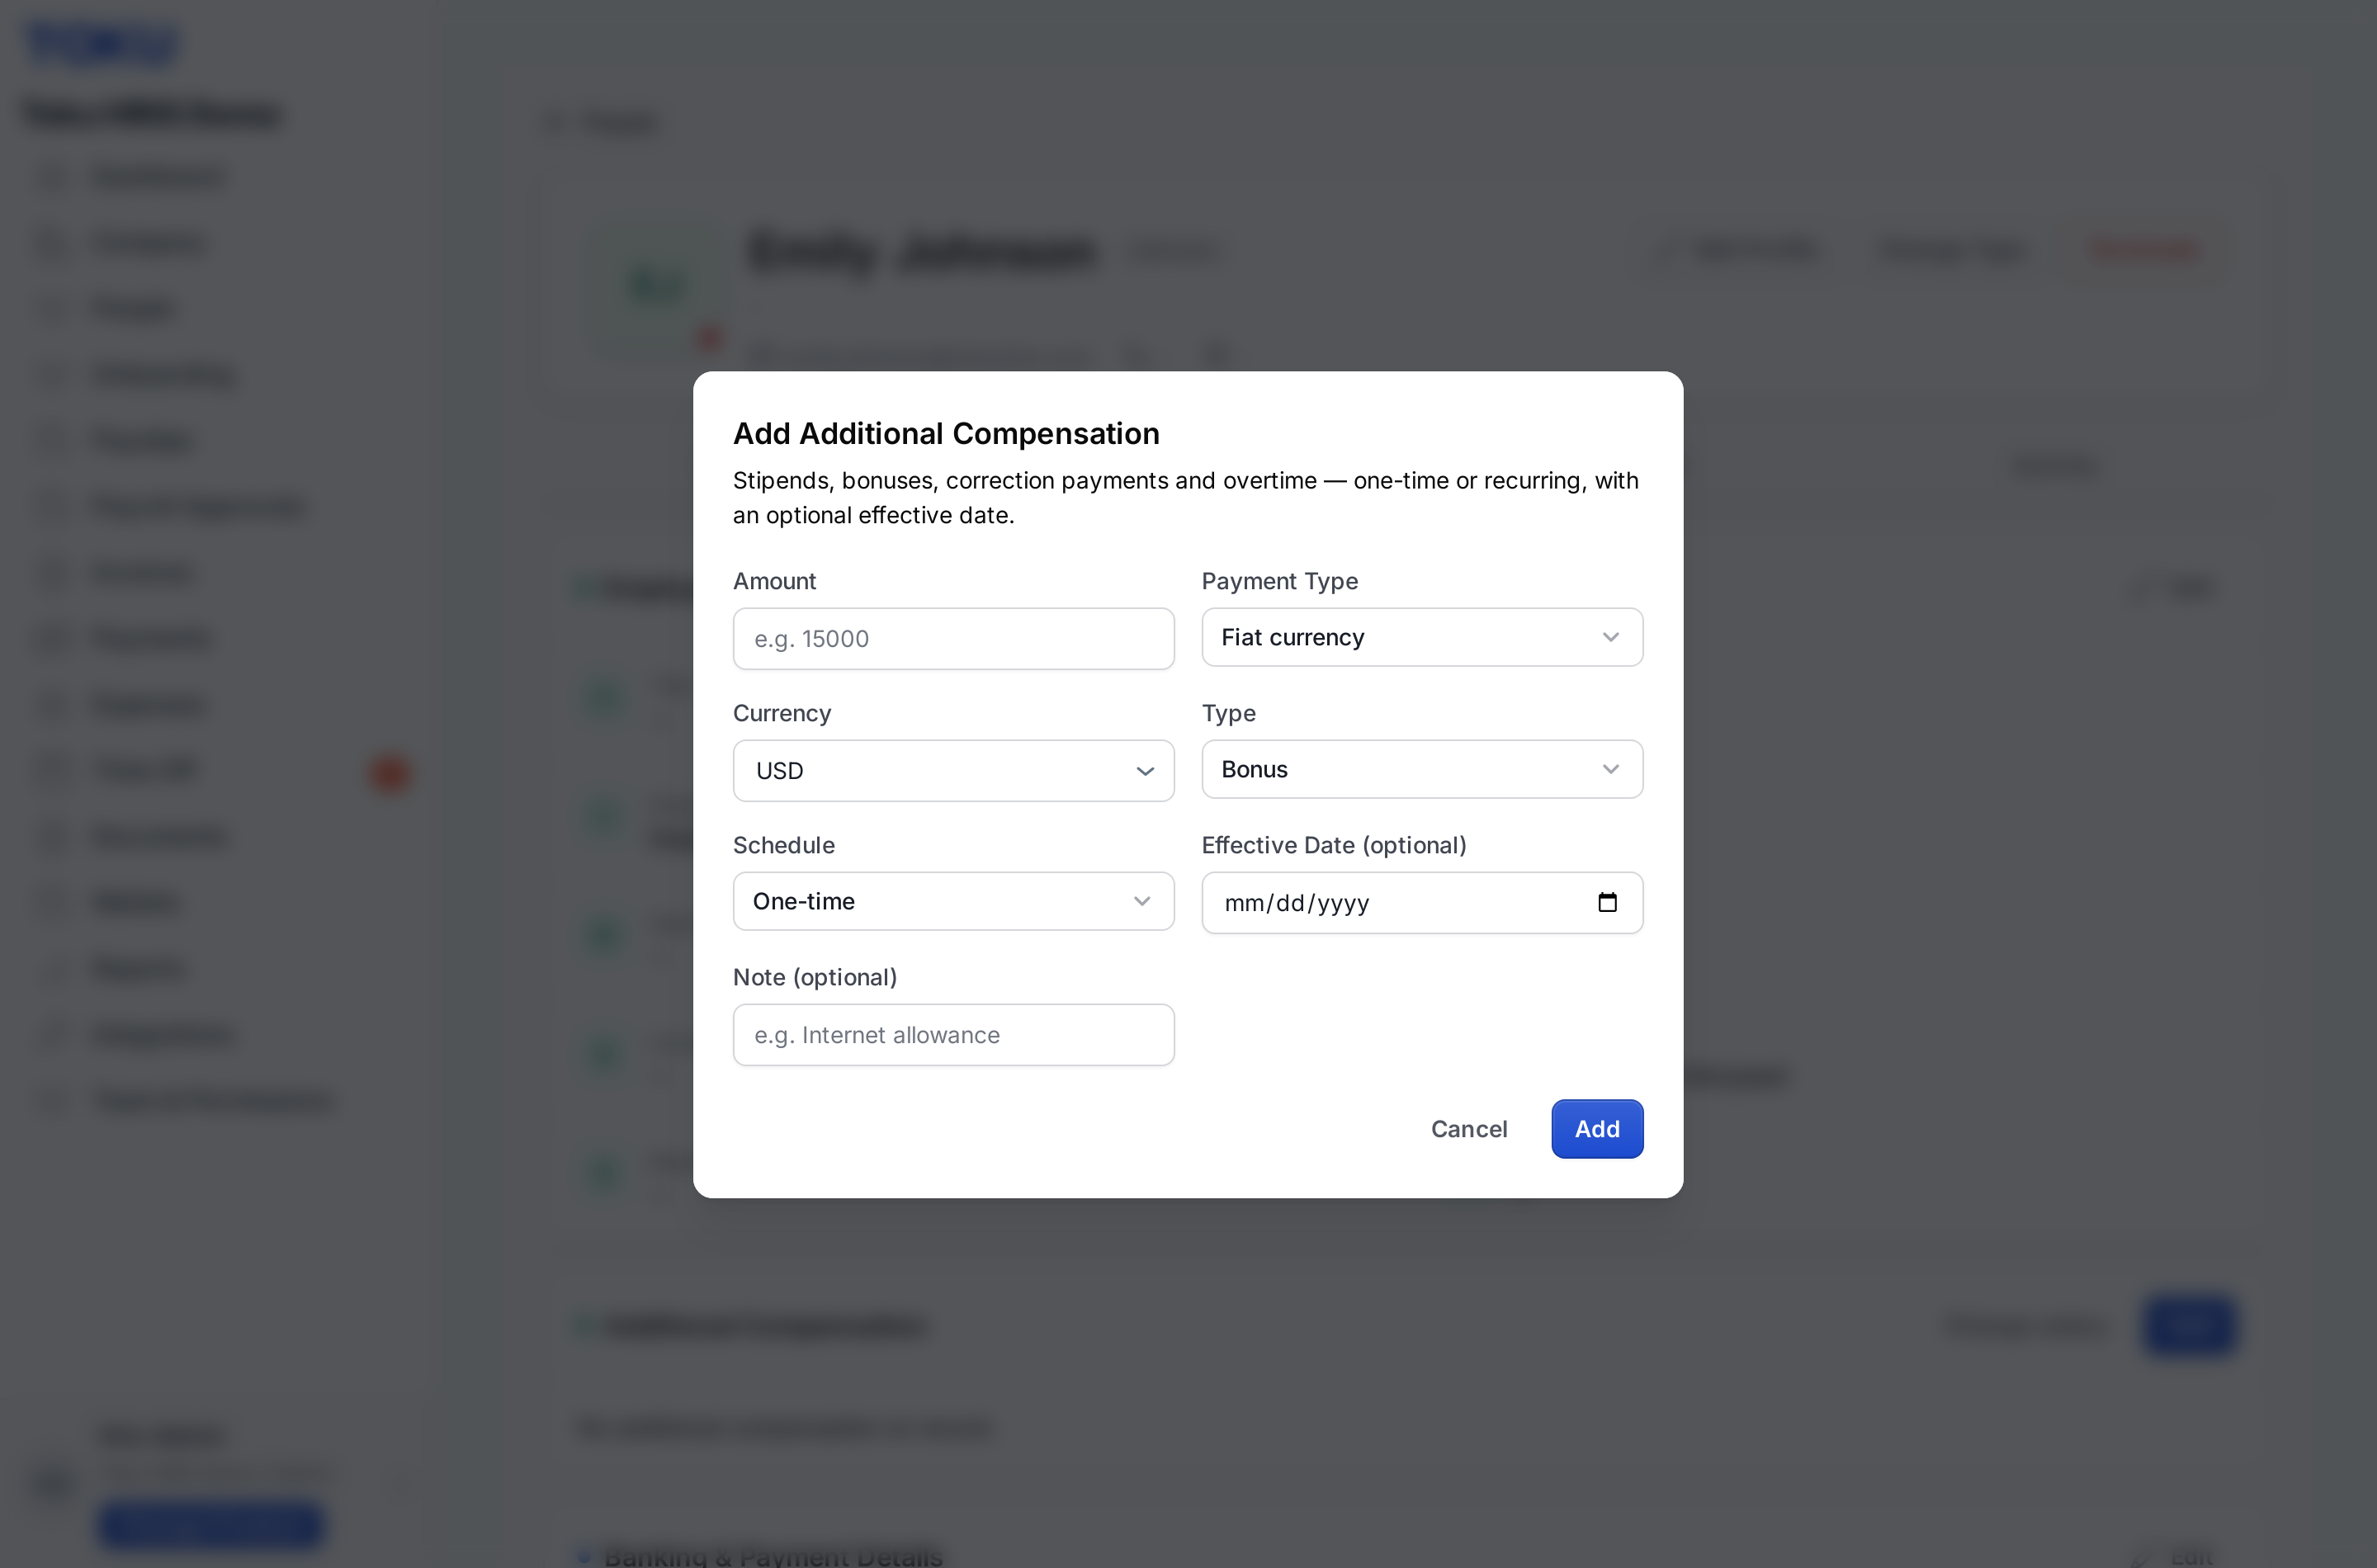
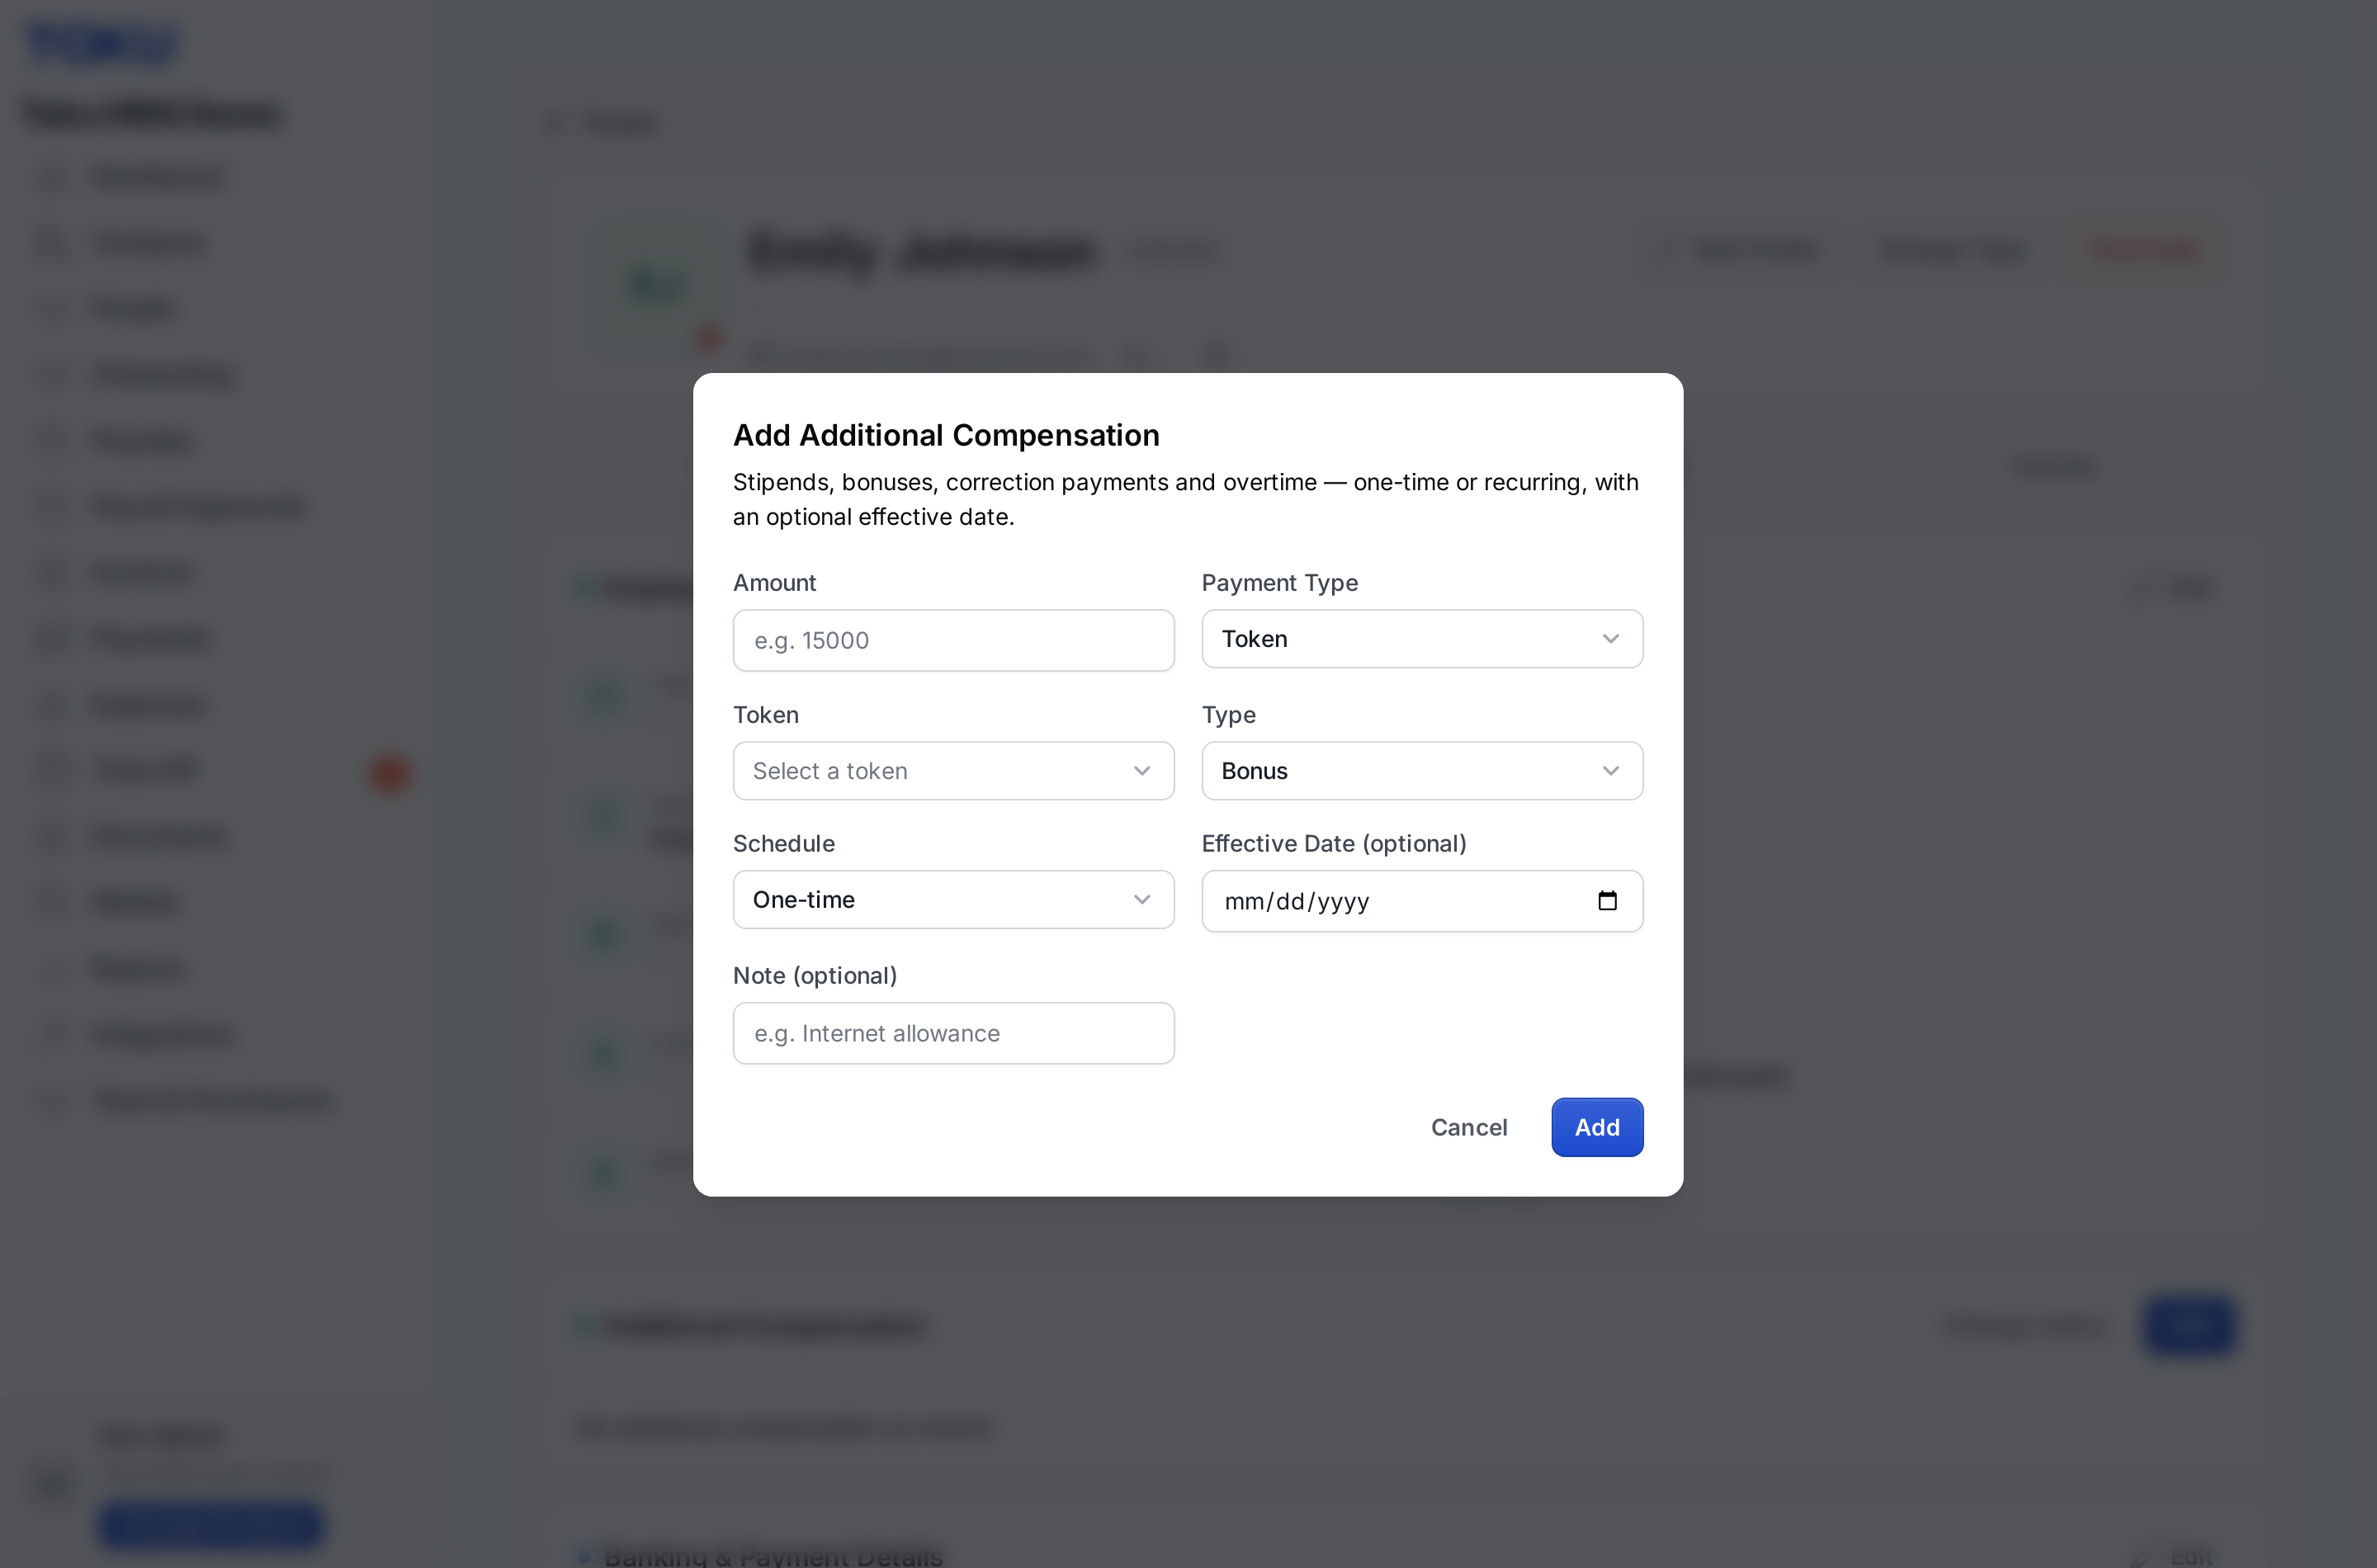
- Choose the Payment Type: Fiat currency for an ordinary currency payment, or Token to pay in a stablecoin. This is a different control from the Type field further down, which is what kind of payment it is - Bonus, Stipend and so on.
- If you chose Token, the Currency field is replaced by a Token picker. Each option names the stablecoin and the network together - for example USDC on Polygon, USDT on Ethereum, USDG on Solana - so there is no separate network to set.
- For a fiat payment, select the Currency dropdown and pick the currency from their employment contract. (If you chose Token above, you will have picked the token instead and there is no Currency field.)
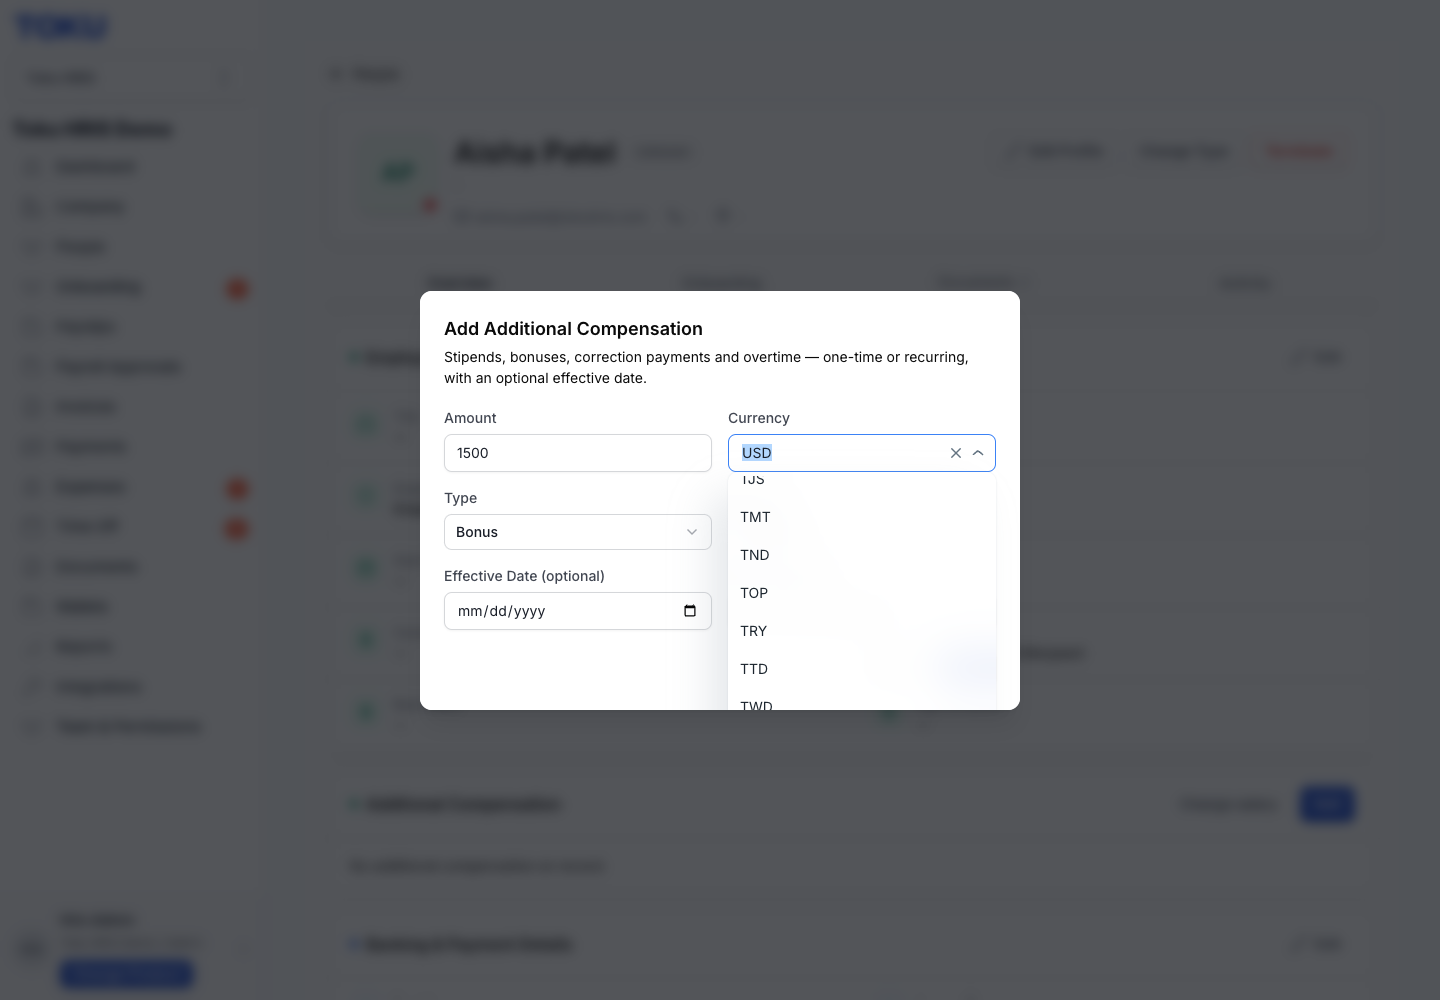
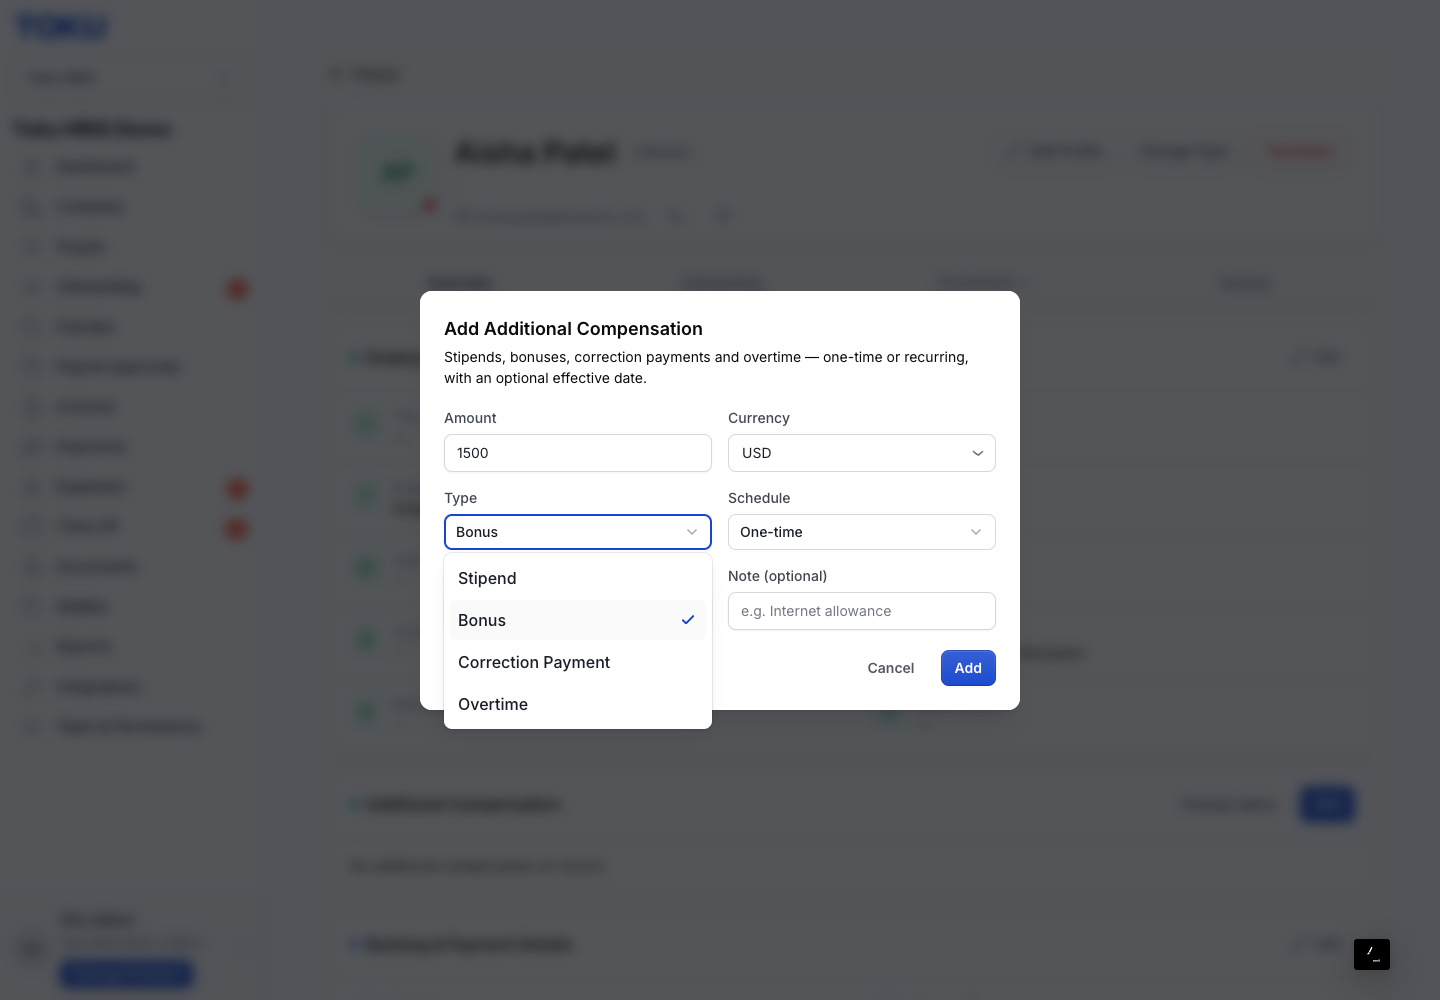
- Select the Type dropdown and choose what kind of payment it is: Bonus, Stipend, Correction Payment, or Overtime. Use Correction Payment when fixing an earlier payment error. This is separate from Payment Type above, which is about how it is denominated.
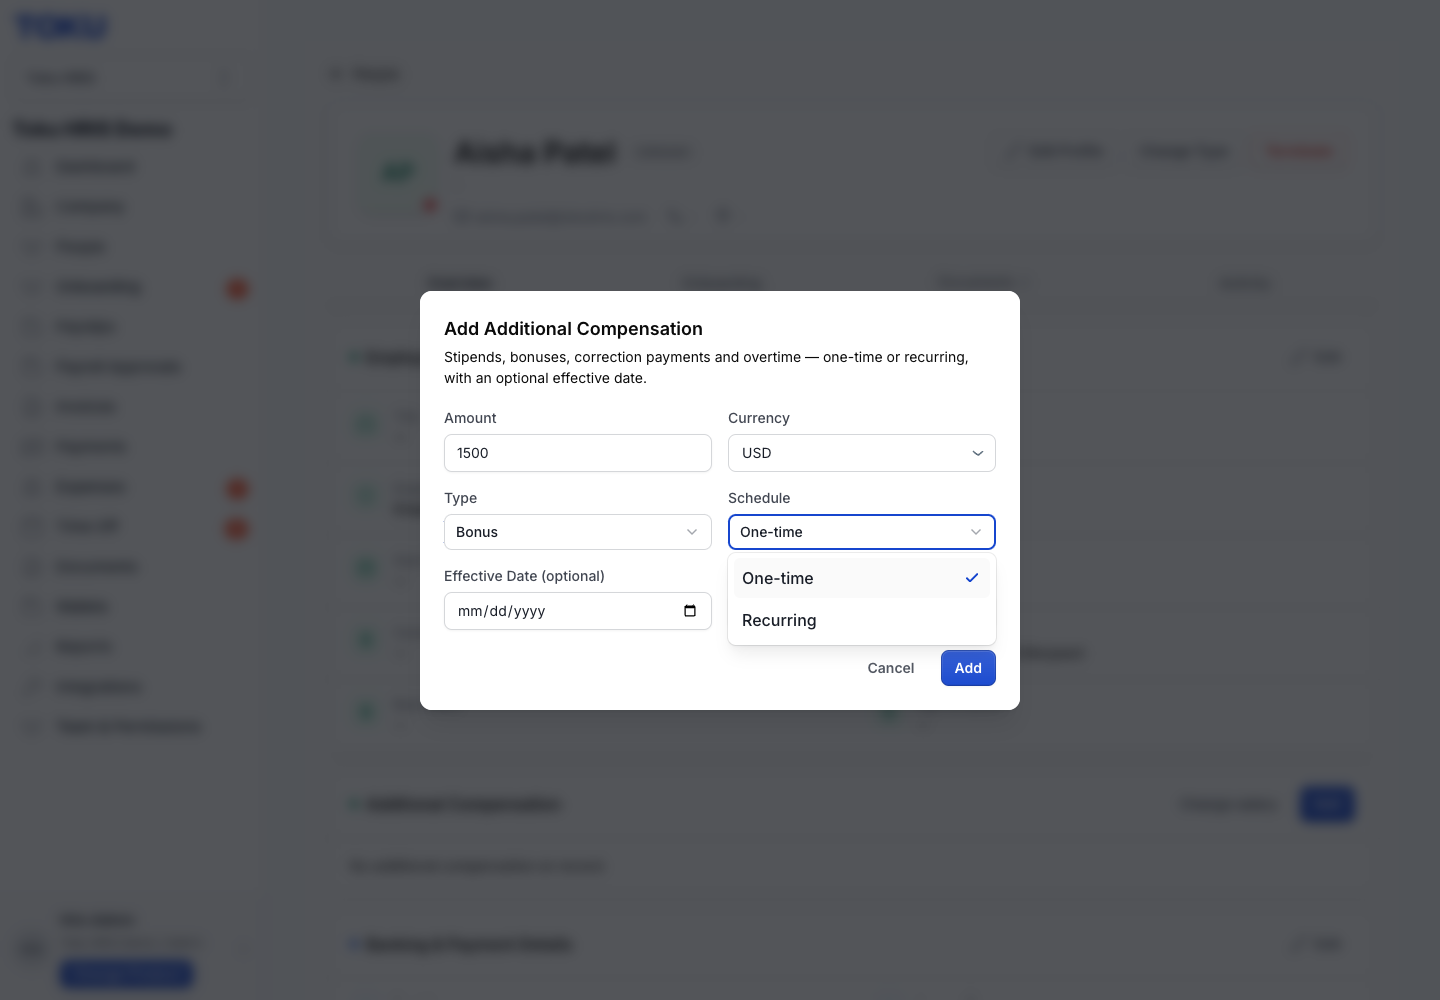
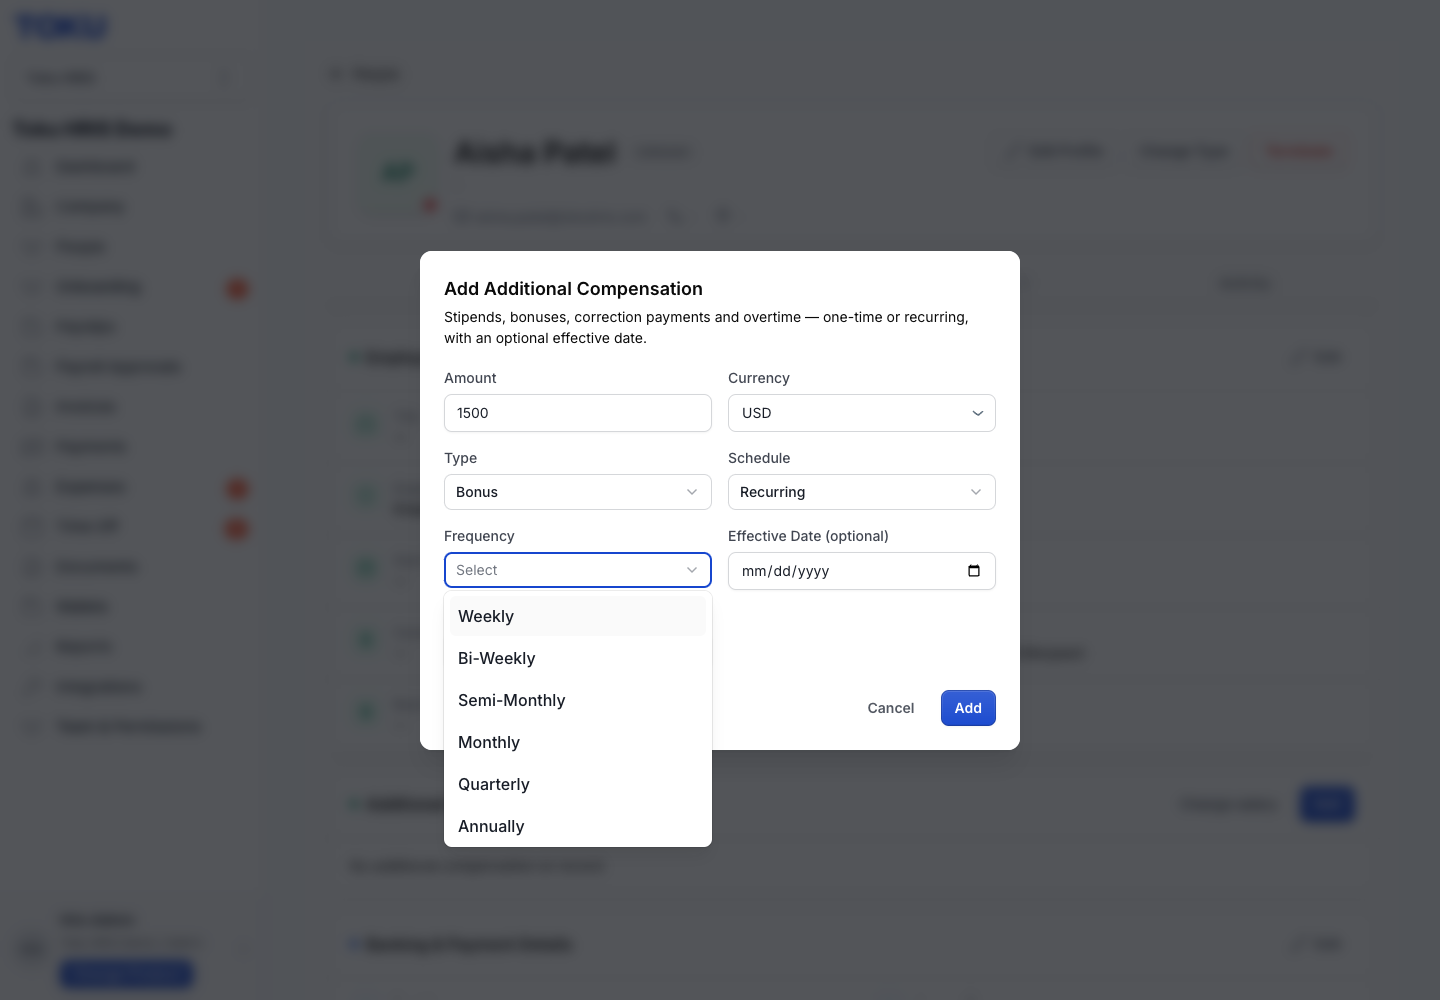
- Select the Schedule dropdown. Choose One-time for a single payment or Recurring for a repeating one. If you pick Recurring, a Frequency dropdown appears where you choose how often it repeats: Weekly, Bi-Weekly, Semi-Monthly, Monthly, Quarterly, or Annually.
- If the payment should start on a specific date, select Effective Date (optional) and pick it from the calendar. A future date means the entry is saved now but only becomes active on that day.
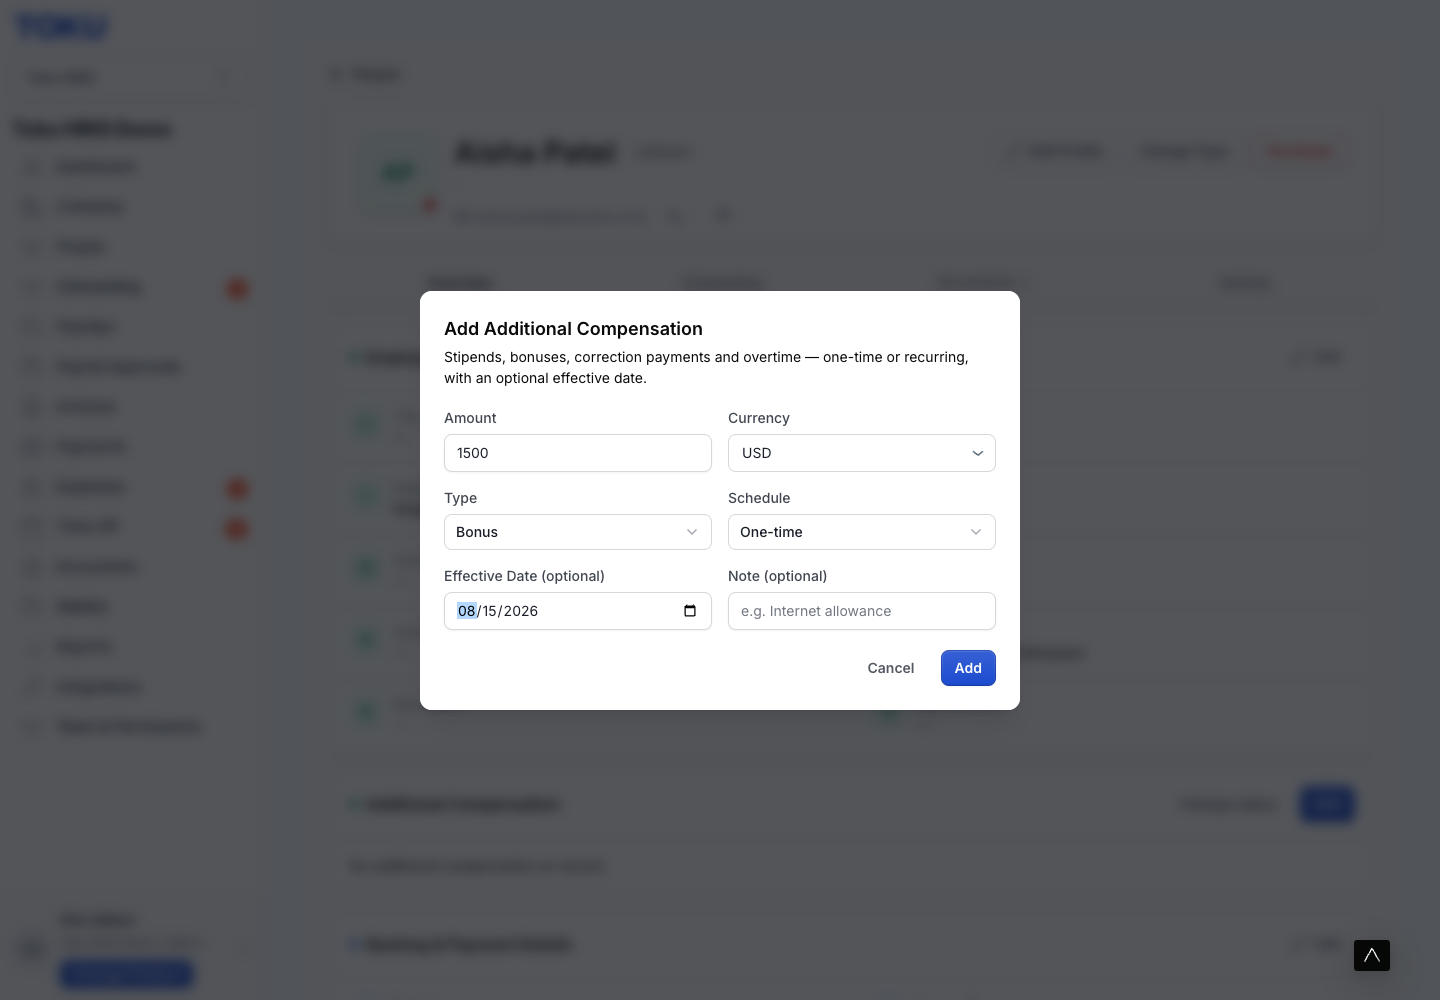
- Click Add to save the payment.
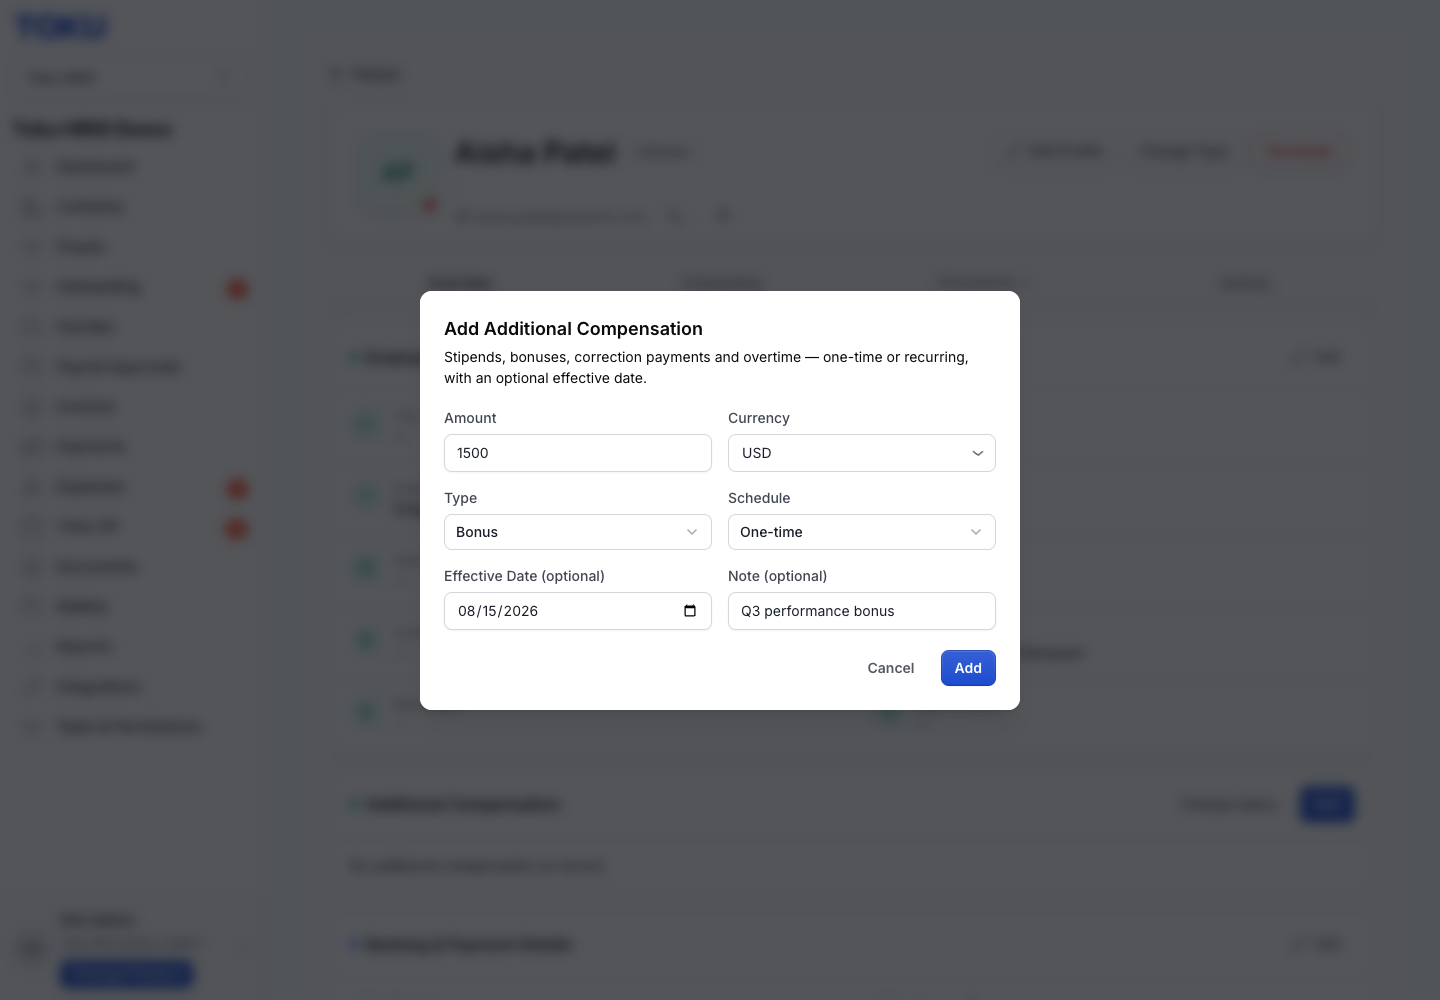
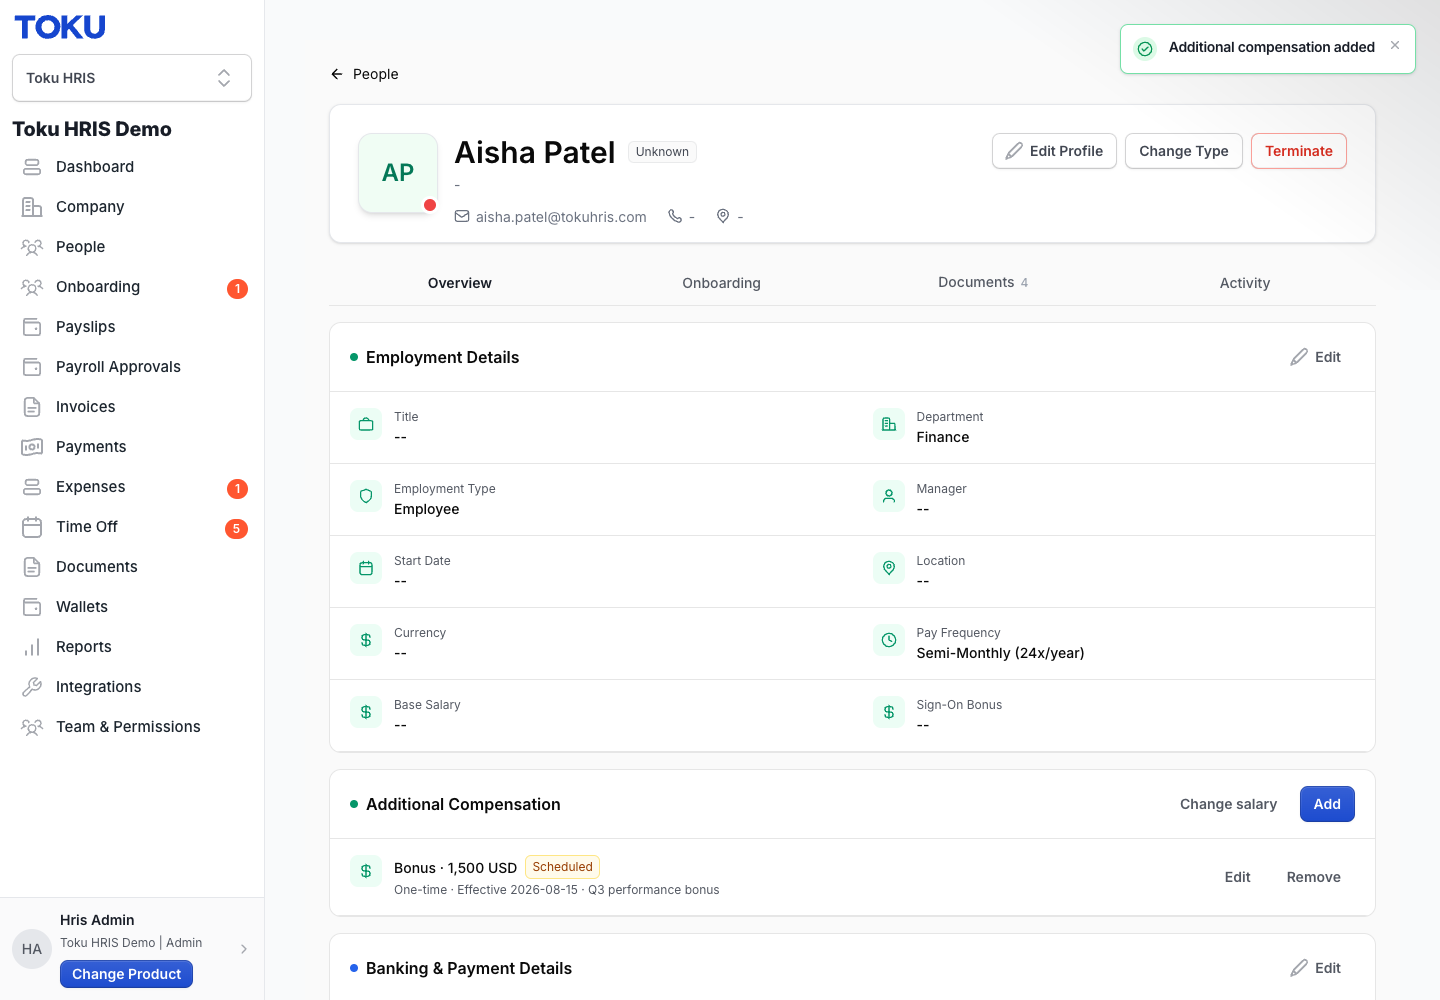
- Confirm the new entry appears as a row in the Additional Compensation section (example: "Bonus · 1,500 USD"). If it has a future effective date, a yellow Scheduled tag indicates it's saved but not yet active.
Good to know
- If you see a red error message, fix the field it mentions and click Add again.
- You can Edit or Remove any entry at any time, including past-dated ones - the buttons are not disabled once a date has passed. But editing a record after its amount has already been paid out does not reverse or reissue that payment. For a wrong past-paid amount, add a new Correction Payment entry for the difference and explain it in the Note field.
- Every payroll cycle has a cutoff date. Payments entered after the cutoff are paid in the next cycle, not the current one.
- Some organizations require approval before compensation changes apply. If your organization does, changes appear with a yellow notice reading "Changes pending approval" until the review is complete.
Still stuck?
You can email [email protected] to reach our support team. Please include your email address, organization name, and a description of what happened. Screenshots and videos are always welcome to speed up the troubleshooting process. Feel free to reach out any time for further assistance.