
 4 MIN READ
 UPDATED OCT 30, 2026
📘 For organization administrators on Toku. Last updated October 30, 2026.
Control what each administrator in your organization can access, remove access when needed, and manage your own notification preferences.
Before you start
- You need administrator access to your organization on Toku.
- Team & Permissions lives in the left-hand menu - it's where you manage administrator access for your organization.
- Access levels apply per page area, so you can give an administrator Full Access to some areas and No Access to others.
Change an administrator's access
- Log in at app.toku.com and open Team & Permissions in the left-hand menu.
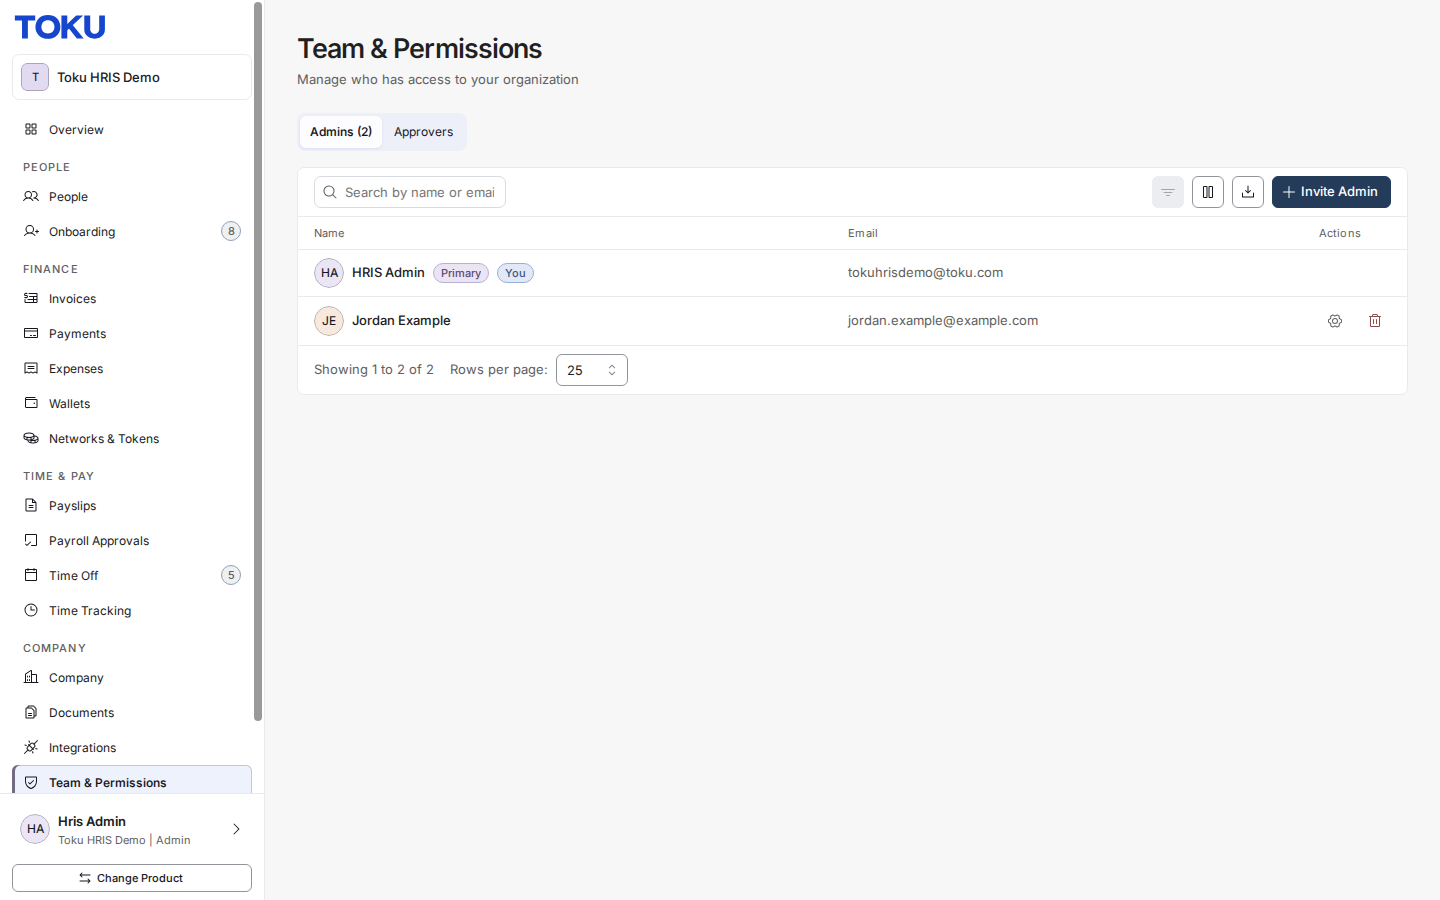
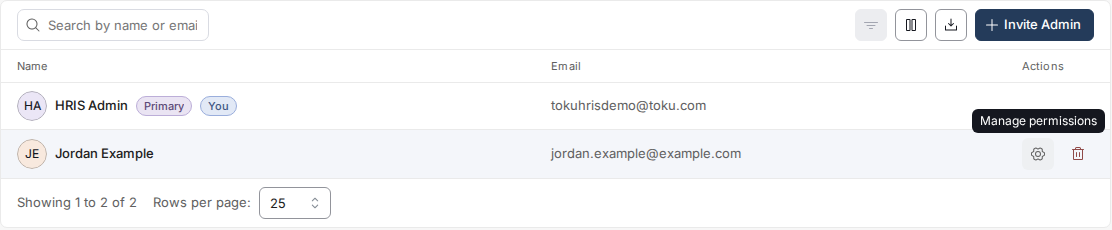
- Find the administrator in the list. On their row, select the gear icon (Manage permissions) to adjust their access, or the bin icon (Remove admin) to remove their access entirely. Your own row has no action icons - another administrator makes changes for you.
- Near the top of the window, set Access scope — which people this administrator can see, receive notifications about, and approve. Choose Entire organization for someone who looks after everyone, or Their team only to limit them to the people who report to them. With Their team only selected, the window shows how many direct reports they have - their team is those people plus everyone below them - and a Manage direct reports link to build that team right there.
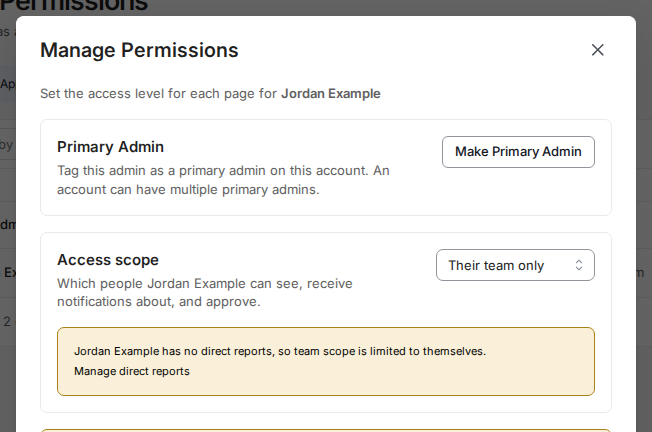
💡 Access scope and the per-page access levels are independent. “Their team only” does not take any page away - the administrator still opens every page you grant below. What scope limits is whose records those pages show and who the administrator can act on: time off, timesheets, and expense reports (including approvals and exports) cover only their team, and email alerts about new time-off requests follow the same rule. The People directory is the exception - it always lists everyone in the organization. To remove a page entirely, set that page to No Access.
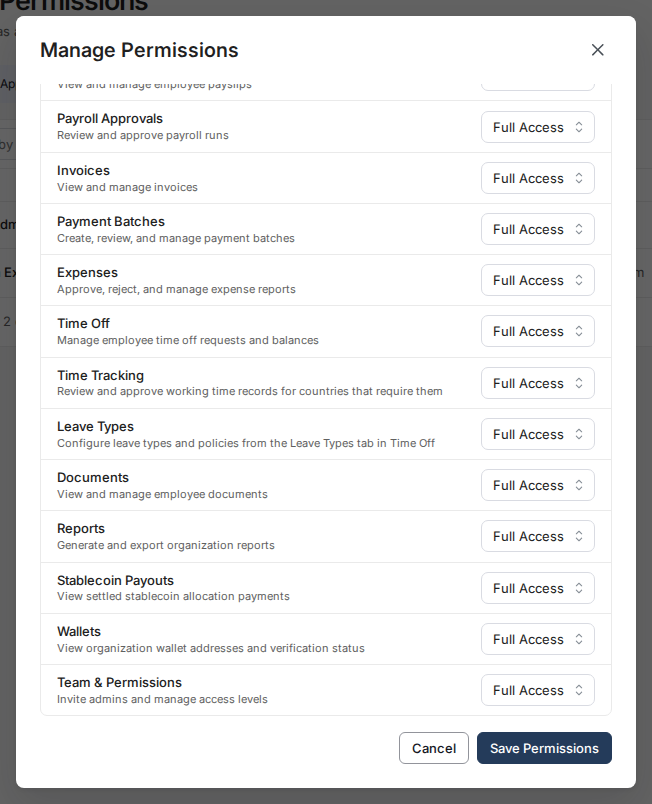
- Below that, for each page area choose Full Access, View Only, or No Access, then select Save Permissions. Both the scope and the page choices are saved together by that one button.
Manage your own notification preferences
- Notification preferences are personal - each admin sets their own, and there's no way to configure them for another admin. Open Company in the left-hand menu, then select the Settings tab.
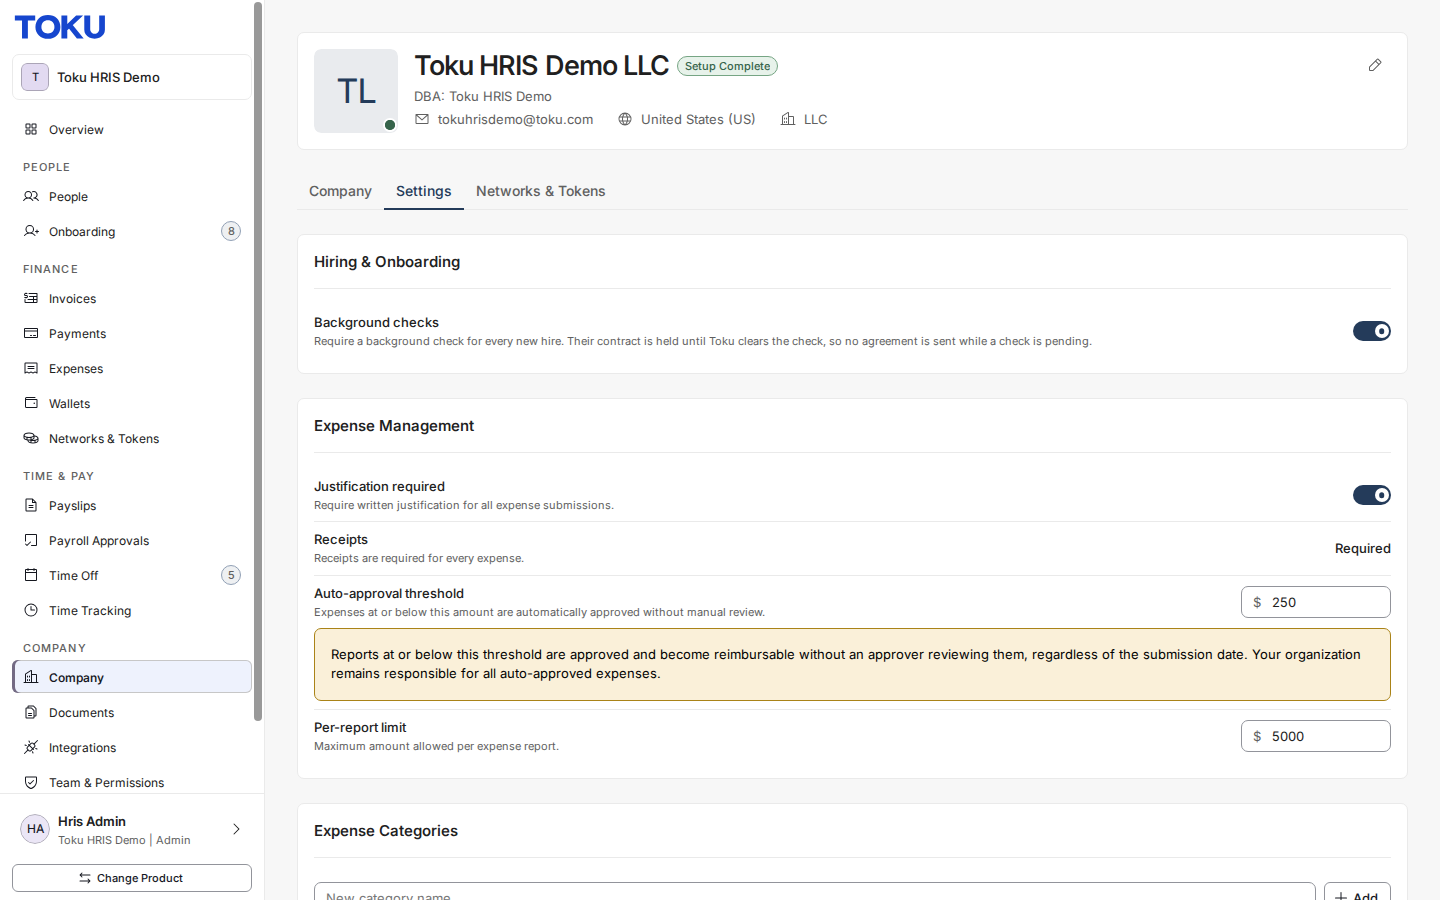
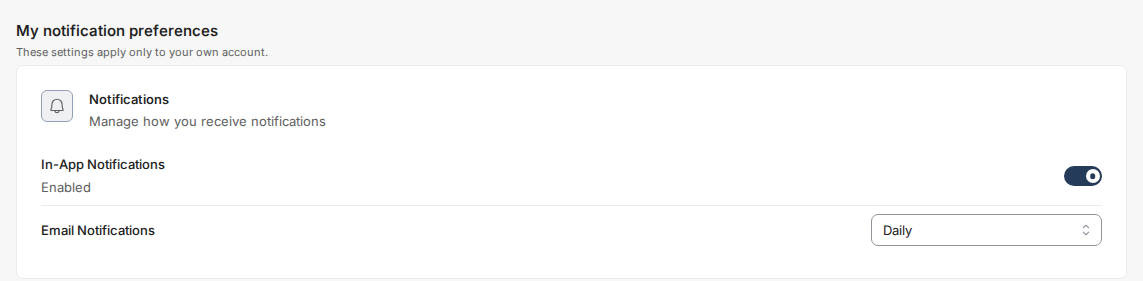
- Scroll to the Notifications card under My notification preferences. Toggle In-App Notifications on or off, and set Email Notifications to Off, Immediate, or Daily.
Good to know
- Email Notifications has three settings - Off, Immediate, or Daily digest. In-App Notifications is a simple on/off toggle.
- There's no per-category notification list - Email Notifications applies to all notification emails together.
- Permission changes take effect as soon as you select Save Permissions; notification preference changes save immediately when you toggle them.
- Team scope follows the reporting lines you set up - the Approvers tab on this same page is the fastest place to build them; see Toku: Set up reporting lines and grant time off and expense approval. Who gets emailed when requests are submitted and decided is covered in Toku: Choose who gets notified about time off and expense approvals.
⚠️ Removing an admin is immediate - they lose all admin access to your organization on Toku. Your organization must always have at least one active administrator, so you can't remove the last one.
Still stuck?
You can email [email protected] to reach our support team. Please include your email address, organization name, and a description of what happened. Screenshots and videos are always welcome to speed up the troubleshooting process. Feel free to reach out any time for further assistance.