 3 MIN READ
 UPDATED OCT 30, 2026
Use this guide to replace the client secret for your existing Toku OIDC application. You need an Okta administrator and an administrator who can update your organization settings in Toku.
Keep your current Toku admin session open. Do not deactivate the old secret until its replacement is saved in Toku and a fresh Okta sign-in succeeds.
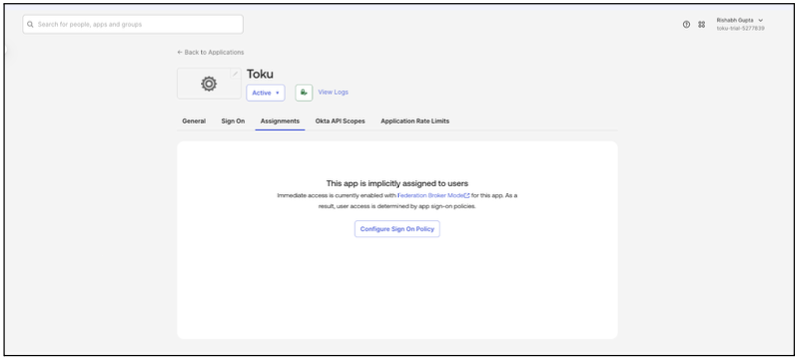
1. Open the existing Toku app in Okta
In the Okta Admin Console, go to Applications → Applications, open your Toku application, and select General → Client Credentials. Confirm Client authentication is set to Client secret.
2. Generate the replacement secret
Under Client Secrets, select Generate new secret. Use the clipboard icon to copy the new secret. Both secrets remain active during the change; use the creation date to identify the new entry.
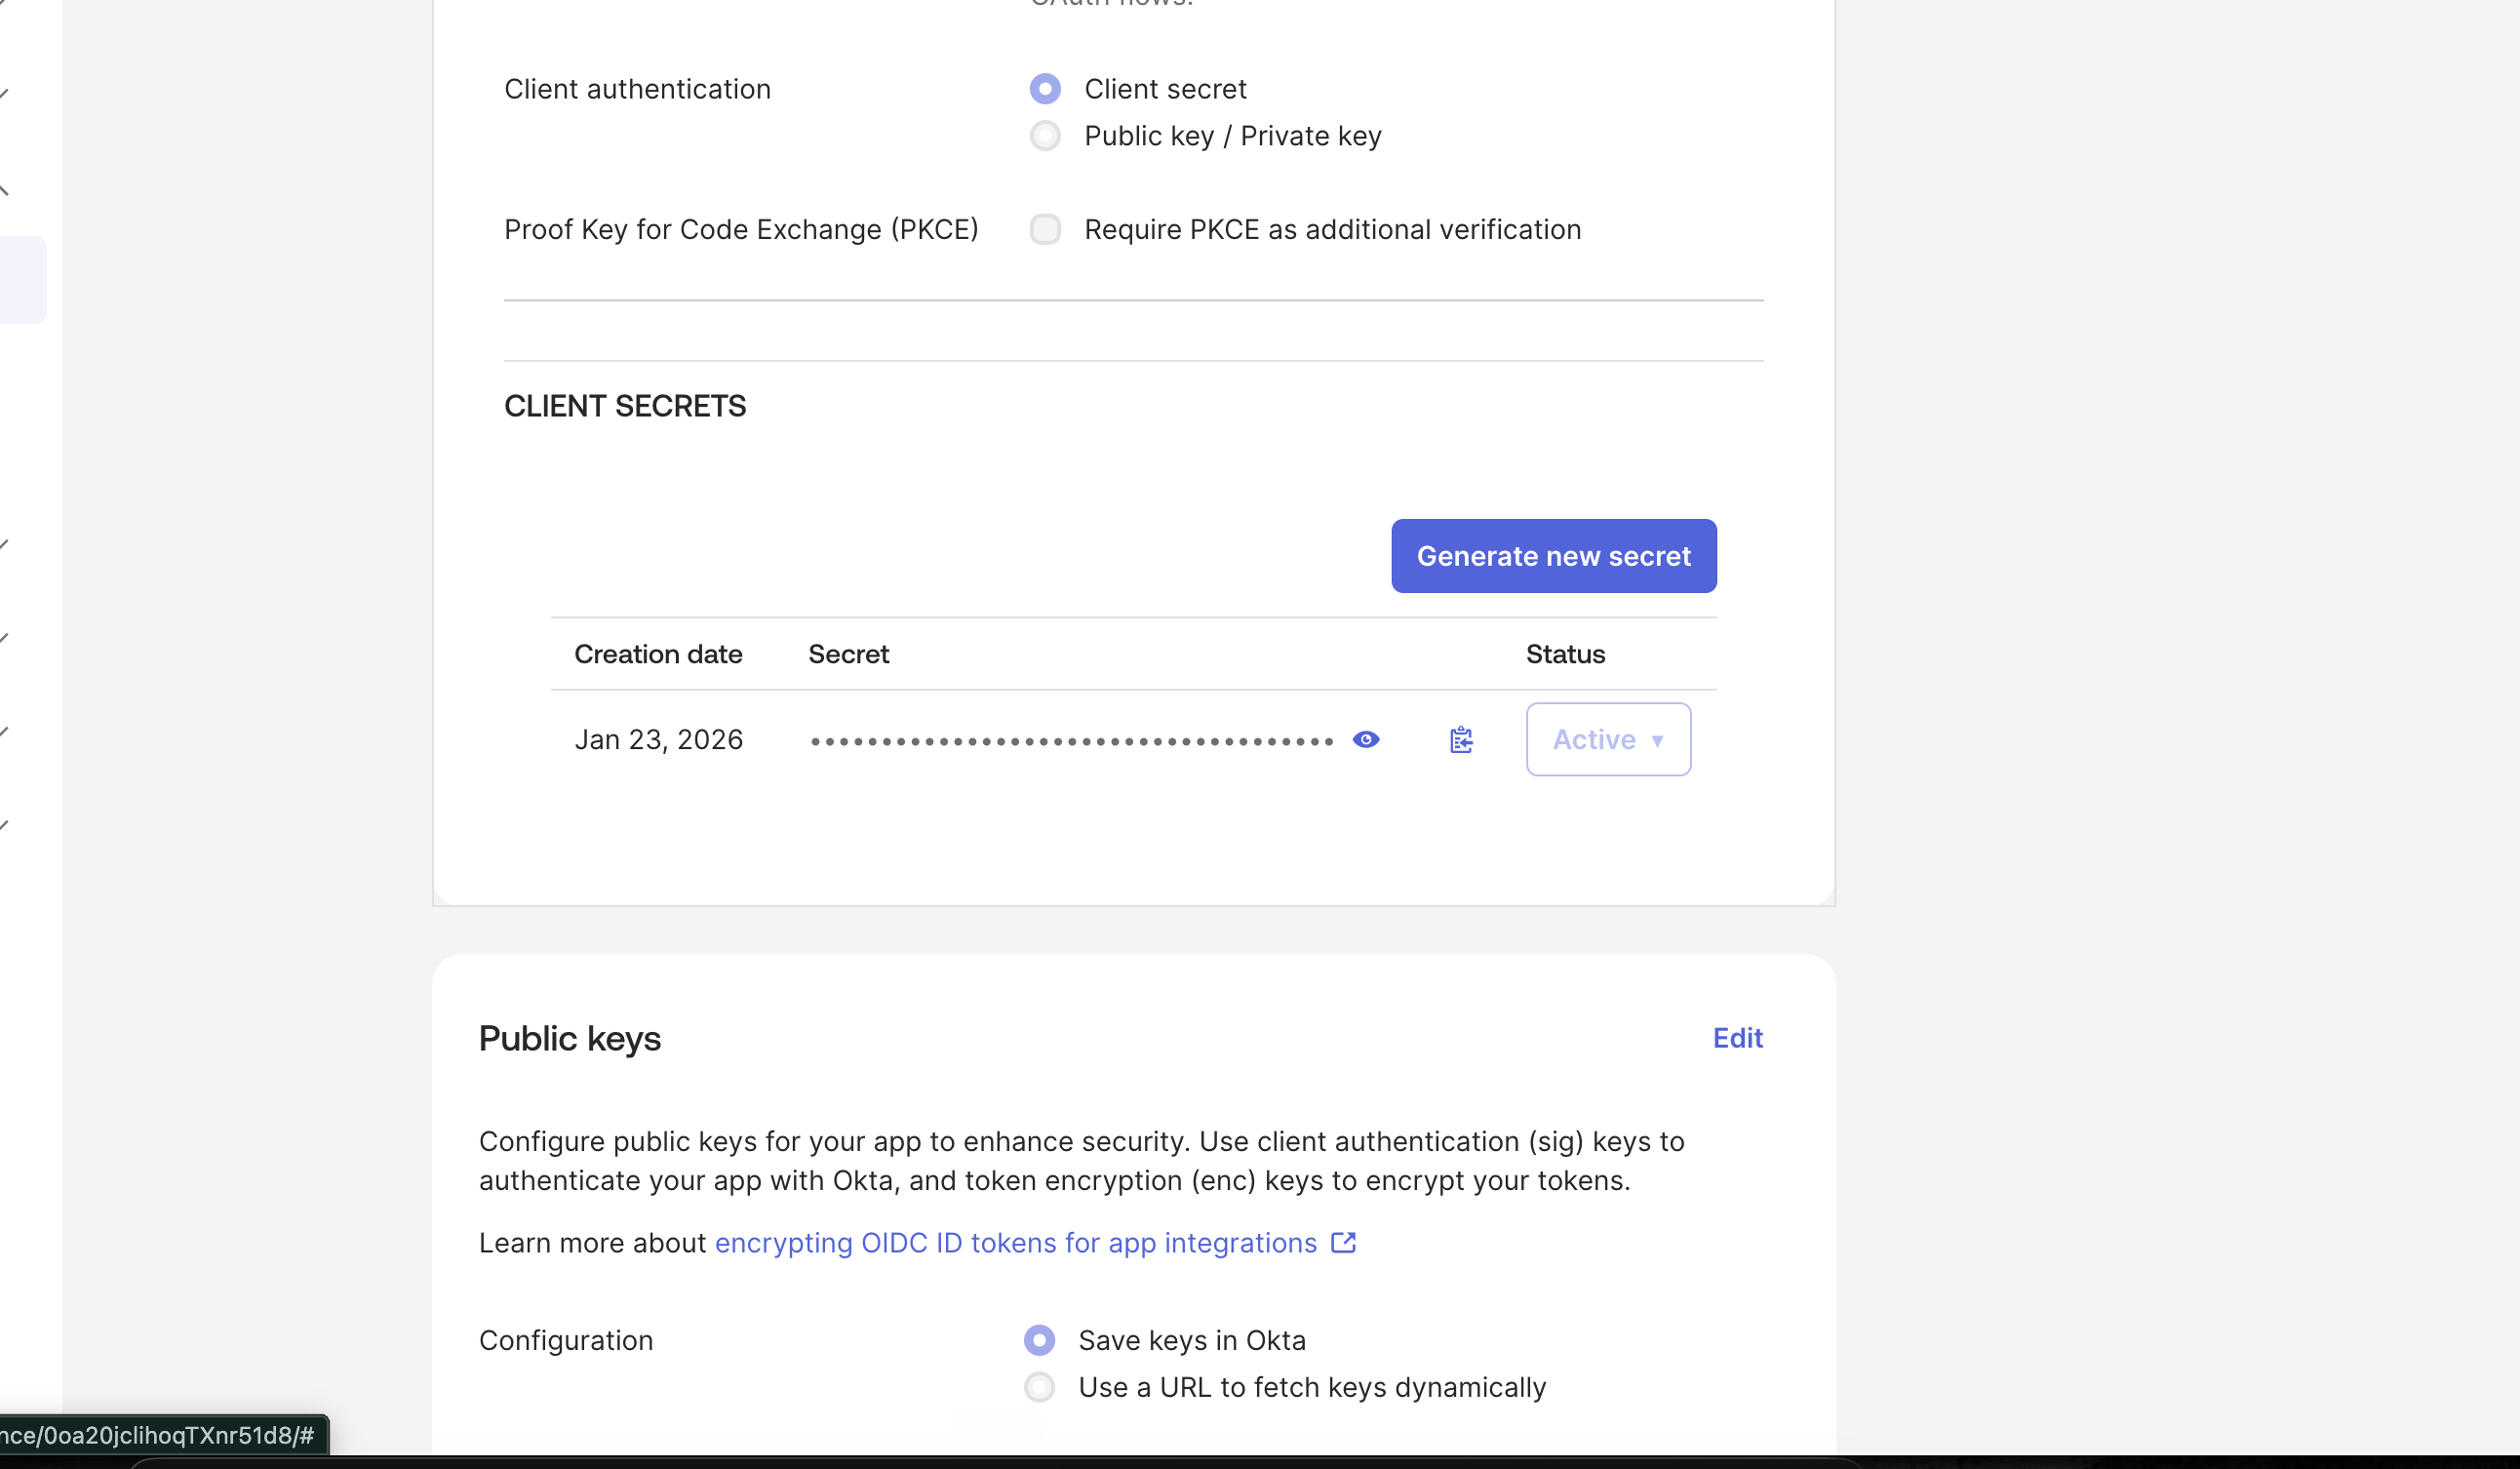
If two secrets already exist, establish which one Toku uses before retiring either. Keep the current authentication method.
3. Save the replacement in Toku
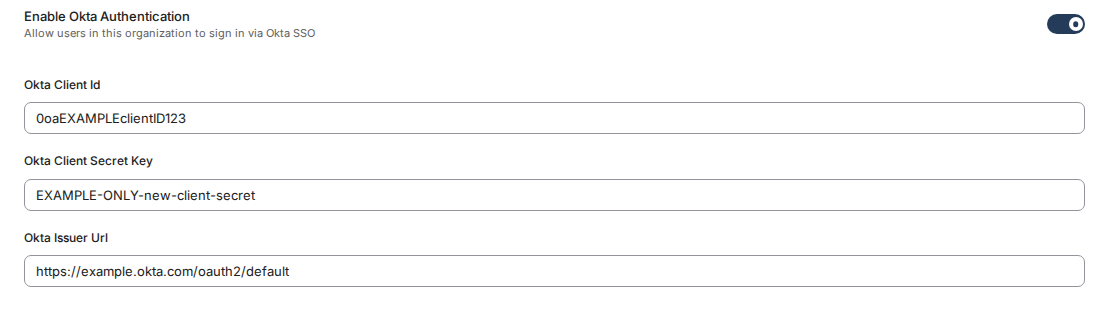
In your existing Toku admin session, open Organization Settings and find the Okta authentication settings. Keep Okta enabled.
Paste the replacement into Okta Client Secret Key and select Save. Keep Okta Client Id and Okta Issuer Url unchanged. Enter the secret directly in Toku; do not paste it into this guide, email, or chat.
4. Test a fresh sign-in
Open your usual Toku sign-in page in a private or incognito window. Sign in as an assigned user through Login with Okta and confirm you reach the correct organization. Keep your original admin session open.
5. Deactivate the old secret
Return to General → Client Secrets in the same Okta application. Set the old secret’s Status to Inactive. Leave the replacement active. Test a fresh Toku sign-in again.
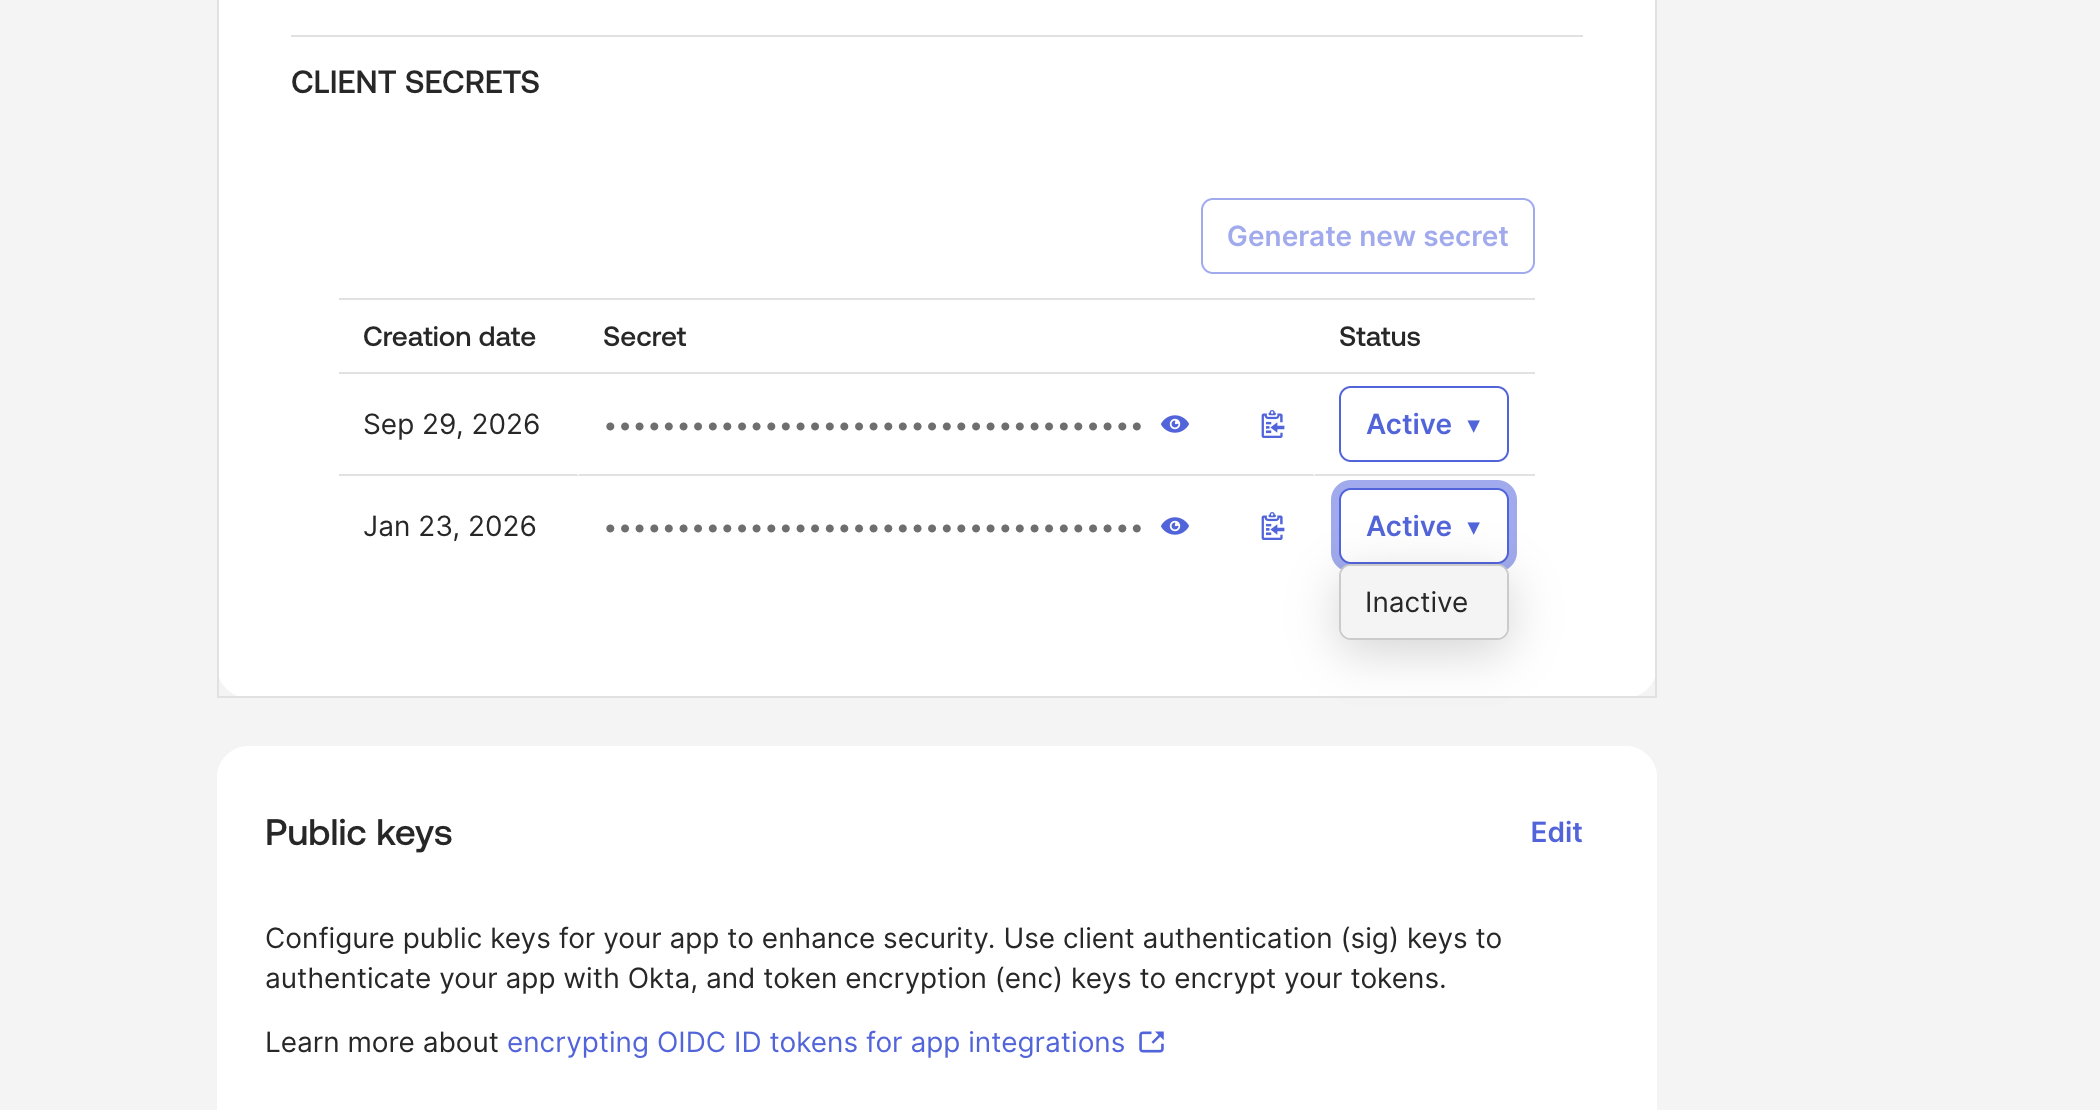
After a successful test, you may delete the inactive secret according to your organization’s retention policy.
If sign-in fails
Before deactivation, keep the old secret active and confirm the new value was saved to the correct Toku organization. Check that Client ID and Issuer URL did not change. After deactivation, reactivate the old secret only if your security policy permits while your administrators investigate. Contact your Toku account manager if needed.
Where to find the settings in Toku
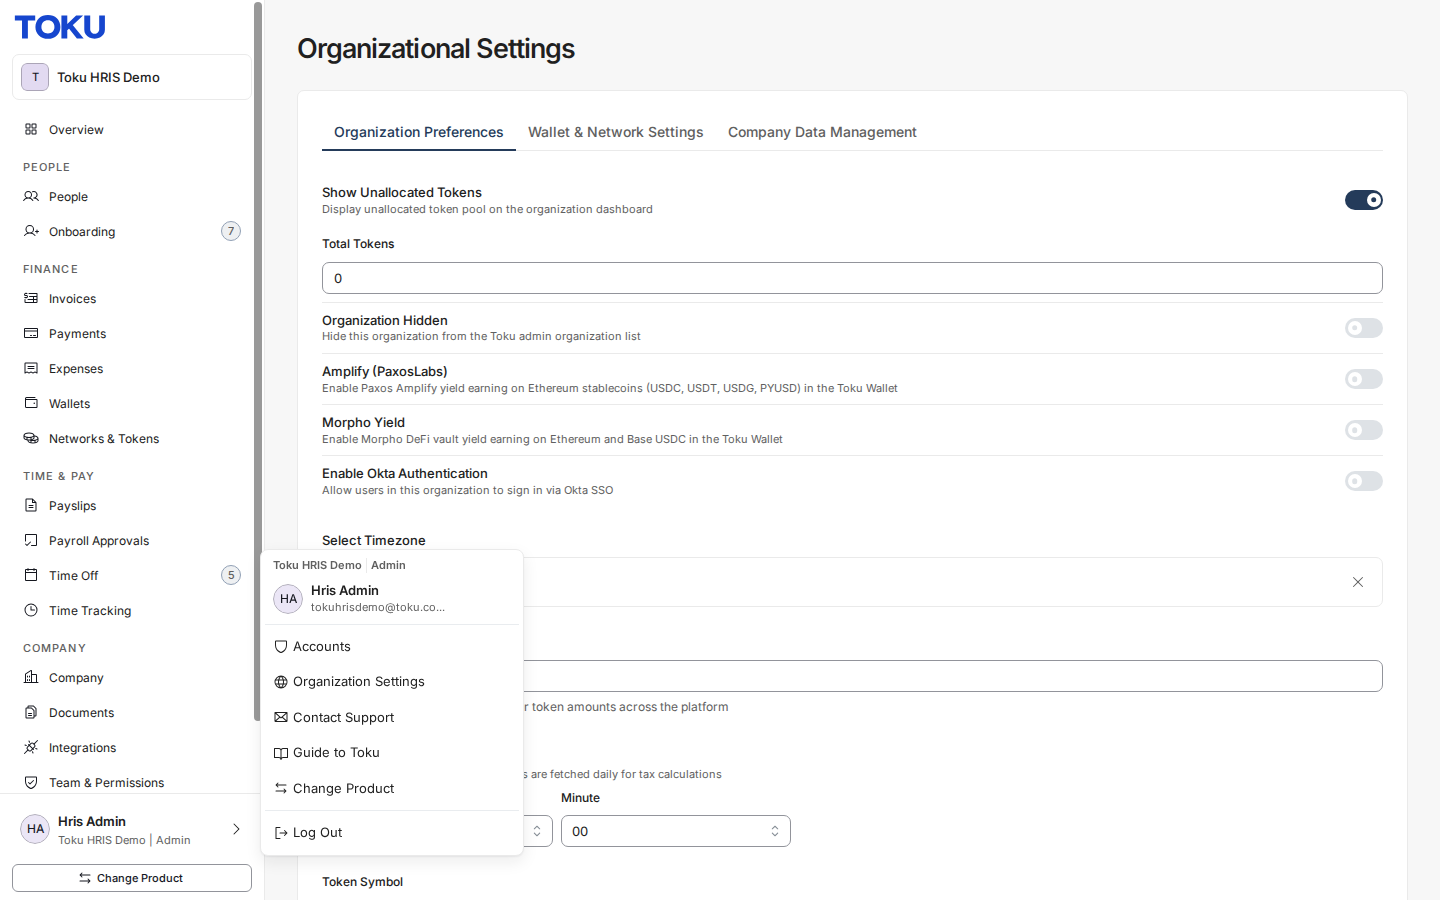
Open the profile menu at the bottom left and select Organization Settings. The Enable Okta Authentication control is on the Organization Preferences tab. For rotation, leave Okta enabled and replace only the Client Secret Key.